Work with actor sequences
You can involve specific contacts in a process. To do this, create an actor sequence and assign it to a process. Later on, you can use this actor sequence for other processes.
From WorkZone Client, you can create, edit, and view actor sequences for your processes.
- On your user profile page > Actor sequences detail tab, click
 Add to open the New sequence tab.
 - In the New sequence tab, fill in the required fields.
- In the ribbon, click
 Save to save your changes.
By default, only you will have access to the actor sequences you created. You can change read access in the Read access field to include other users.
You can view all of your actor sequences in a list
- On your user profile page, click the Actor sequences detail tab to display all your actor sequences.
- In the Actor sequences tab:
- Select a sequence and in the ribbon click
 Preview to view the details in a preview pane.
 - Double-click a sequence to open the sequence in a new tab where you can read and edit the sequence.
- Select a sequence and in the ribbon click
Open the actors in a sequence tab
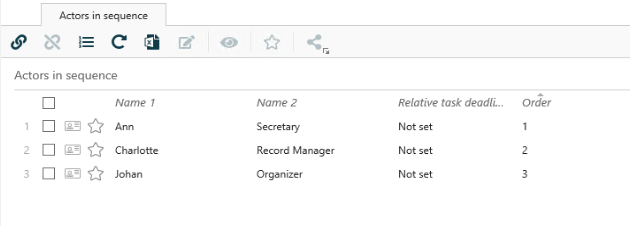
You can manage actors on the Actors in sequence detail tab. In the Actor sequences tab, double-click an actor sequence to open the Actors in sequence detail tab.
Add parties to an actor sequence
- In the Actors in sequence detail tab, click
 Add to open Add parties to an actor sequence form.
 - Search for the party you want to add to a sequence as an actor:
- Enter a text to search for in the Free text field.
- Define the scope of your search under Type.
- Specify the party ID in the ID field.
- Specify a name in the Name 1 or Name 2 field.
- Click Search. The search results are displayed in the left-hand list.
- To add a party from the left-hand list as an actor:
- Double-click the party that you want to add.
- Select the check boxes of the parties and click
 .
. - Optionally, enter a relative task deadline for each actor. Actors must react to the assigned task before the deadlines.
- Click Save.
-Or-
The selected parties are displayed in the right-hand list.
Once you are assigned to a process as a party, a new task is created for you. You can get easy access to all your tasks by adding the lists My open tasks and My pending tasks to the navigation pane as widgets. For information about how to add the lists to the navigation pane, see Manage lists.
Edit relative task deadline for an actor
- On the Actors in sequence detail tab, select one or more actors to edit the relative task deadline for.
- Click
 Edit > Relative task deadline to open the Edit relative task deadline form.
 - Define the relative task deadline for the selected actor or actors. To do this, enter number of days, hours, and minutes, respectively.
- Click Save.
- On the Actors in sequence detail tab, drag the actors to the desired position in a sequence.
- Click Save.
- On the Actors in sequence detail tab, select one or more of the actors that you want to remove.
- Click
 Remove and then click Yes.
See Also