Creating a native API for WorkZone Mobile
Log in to the Microsoft Azure portal.
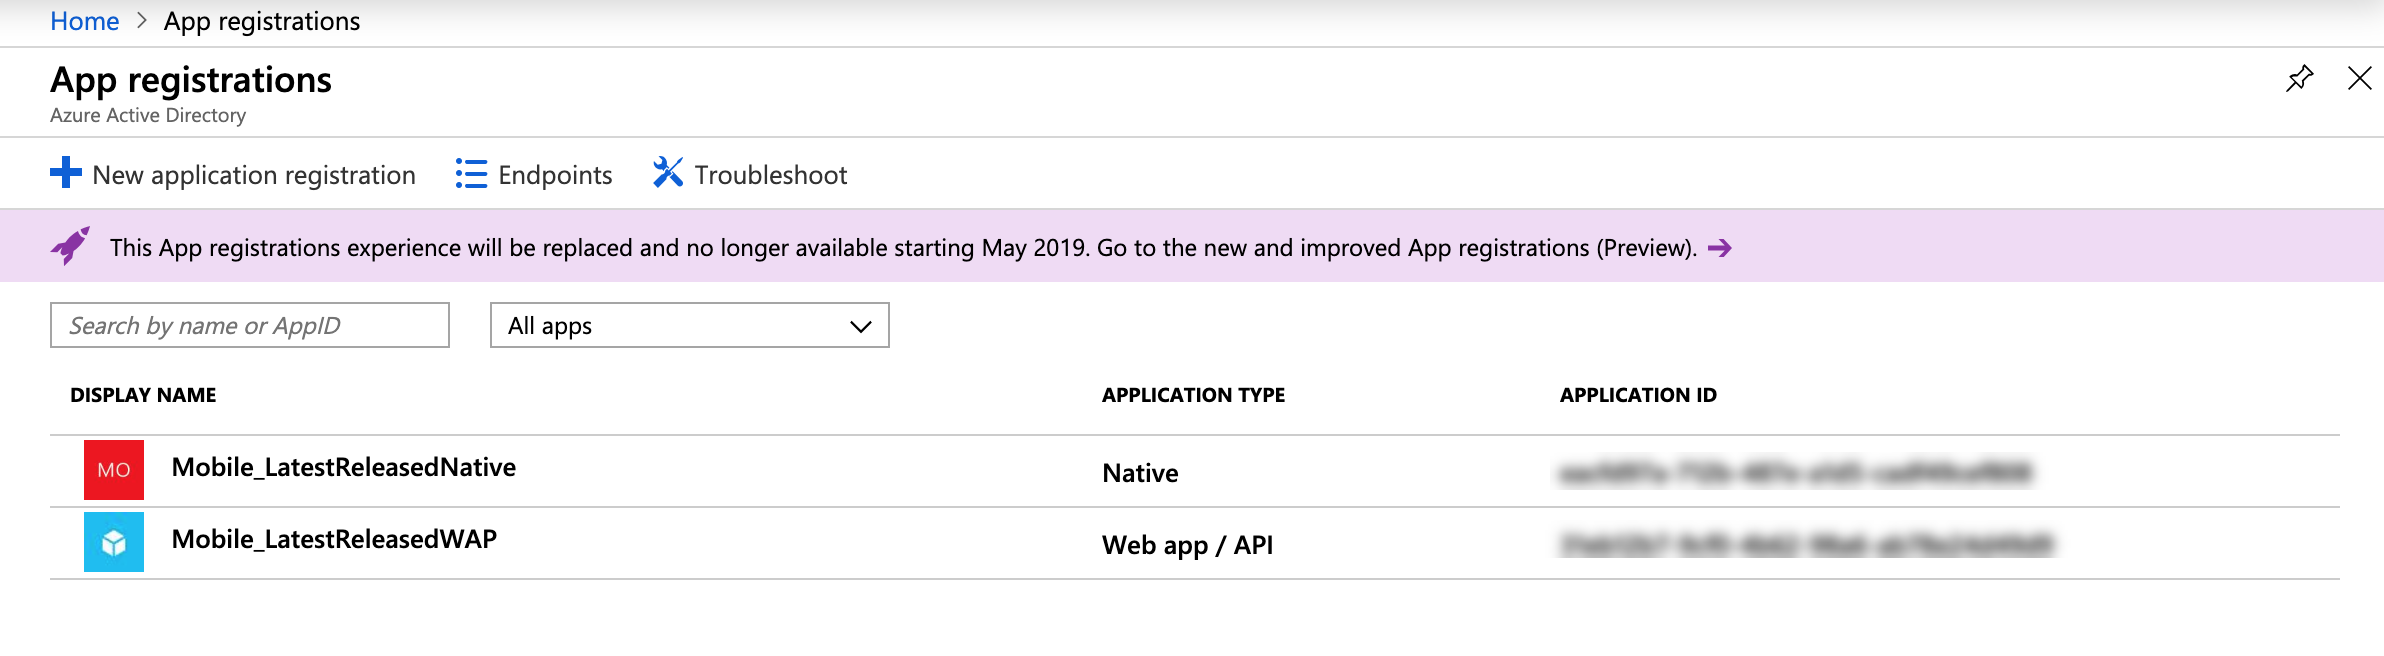
- Click App registrations. It must be the same place as your WorkZone web app publication is created.
- On the App registration page, click New application registration.
- Enter a name for the WorkZone Mobile app, for example,
WorkZoneMobileNative. - Select Native in the Application type field.
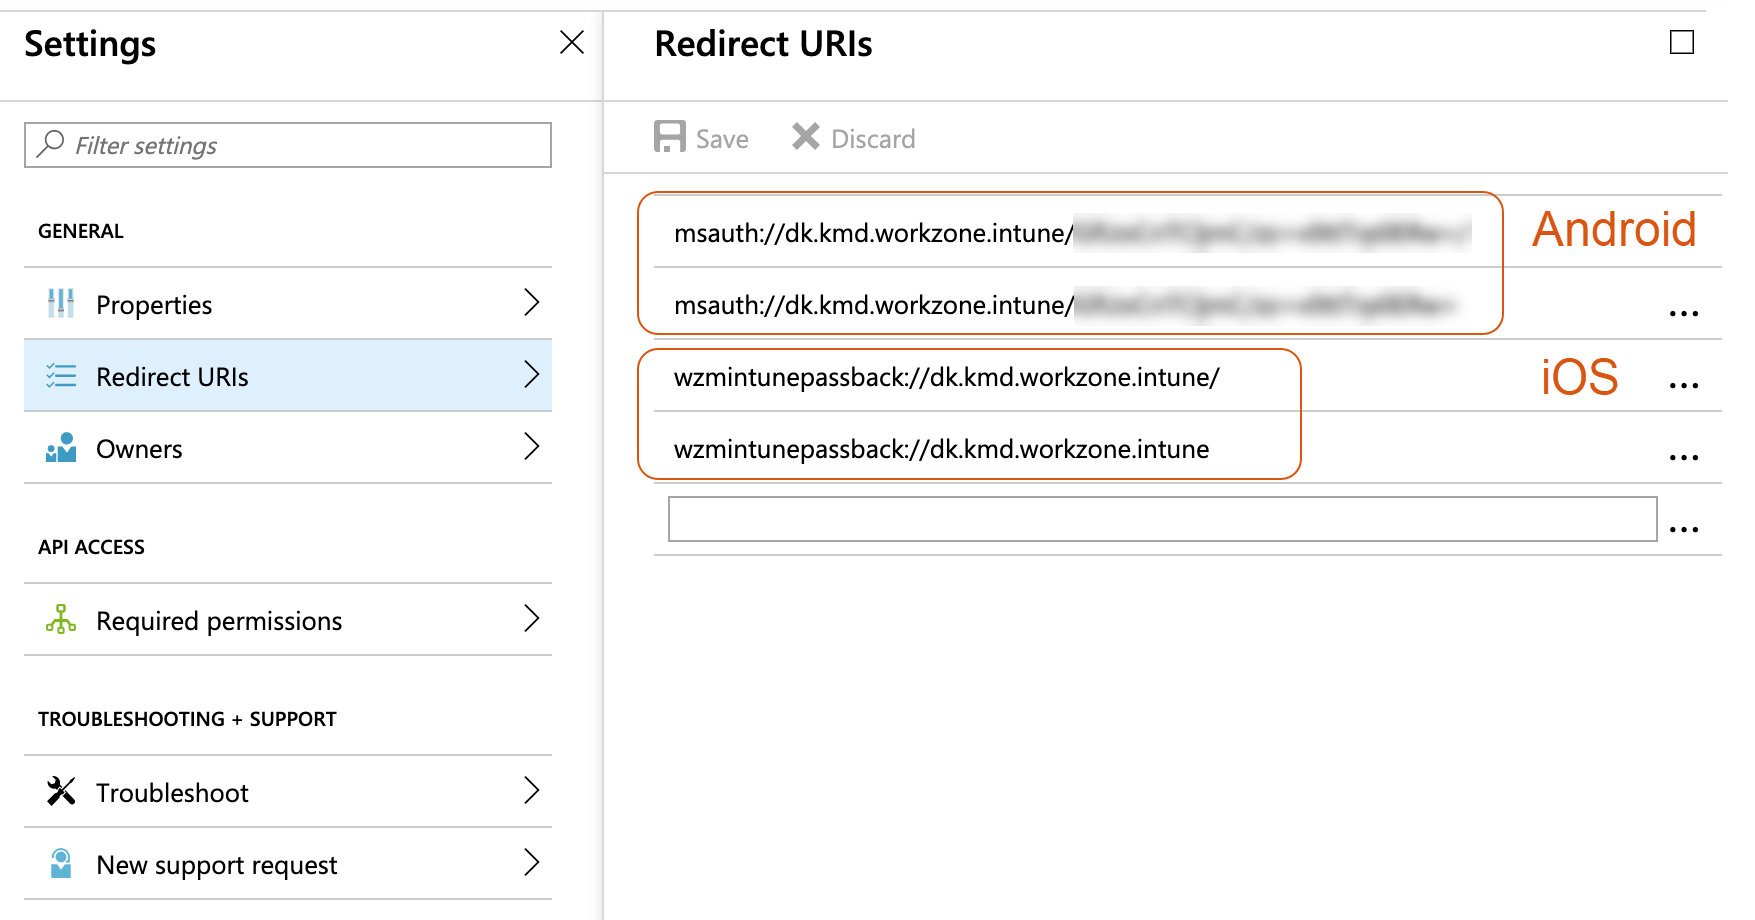
- Enter the URL of your WorkZone web app publication in the Redirect URI field.
- According to vendors limitations, each platforms (iOS and Android) must have specific URI format. Please follow the format illustrated on the picture.
- For the Android platform, use Android Debug Bridge.
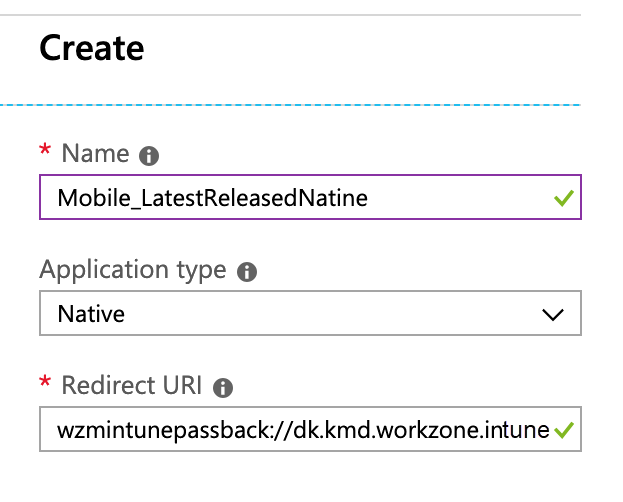
To avoid issues with the third-party applications integrity, it is recommended to add another Redirect URI with slash in the end.
Notes:
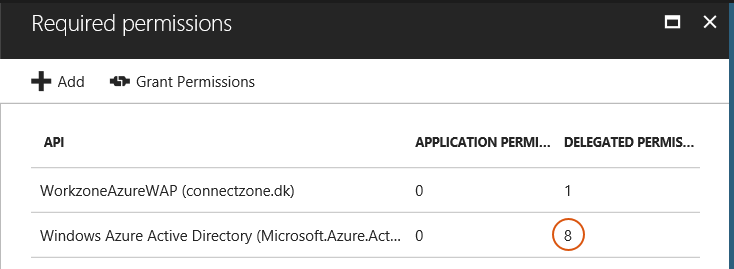
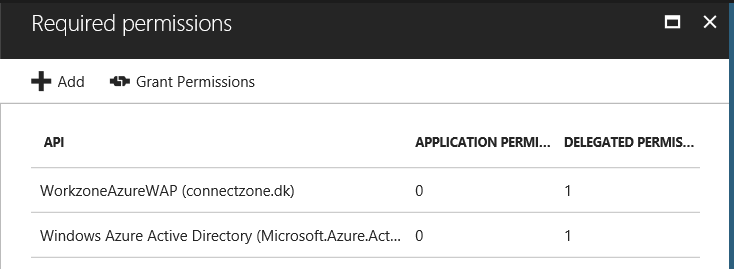
- Select the app you just created and click Settings > Required permissions.
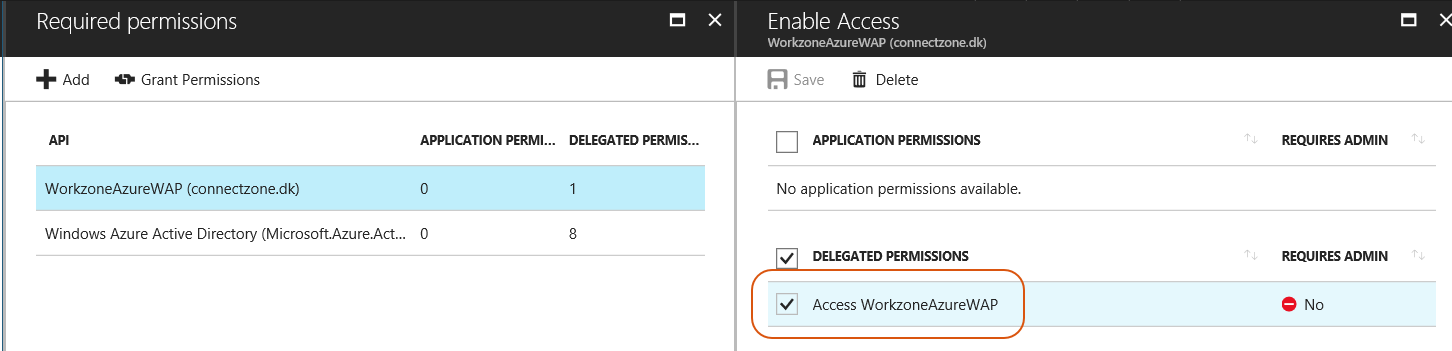
- On the Required permissions page, click Add > Select an API.
- Select your published web app for WorkZone, and click the Select button.
- On the Enable access page, select the Access <Your published web app>, click the Select button.
- Click Done.
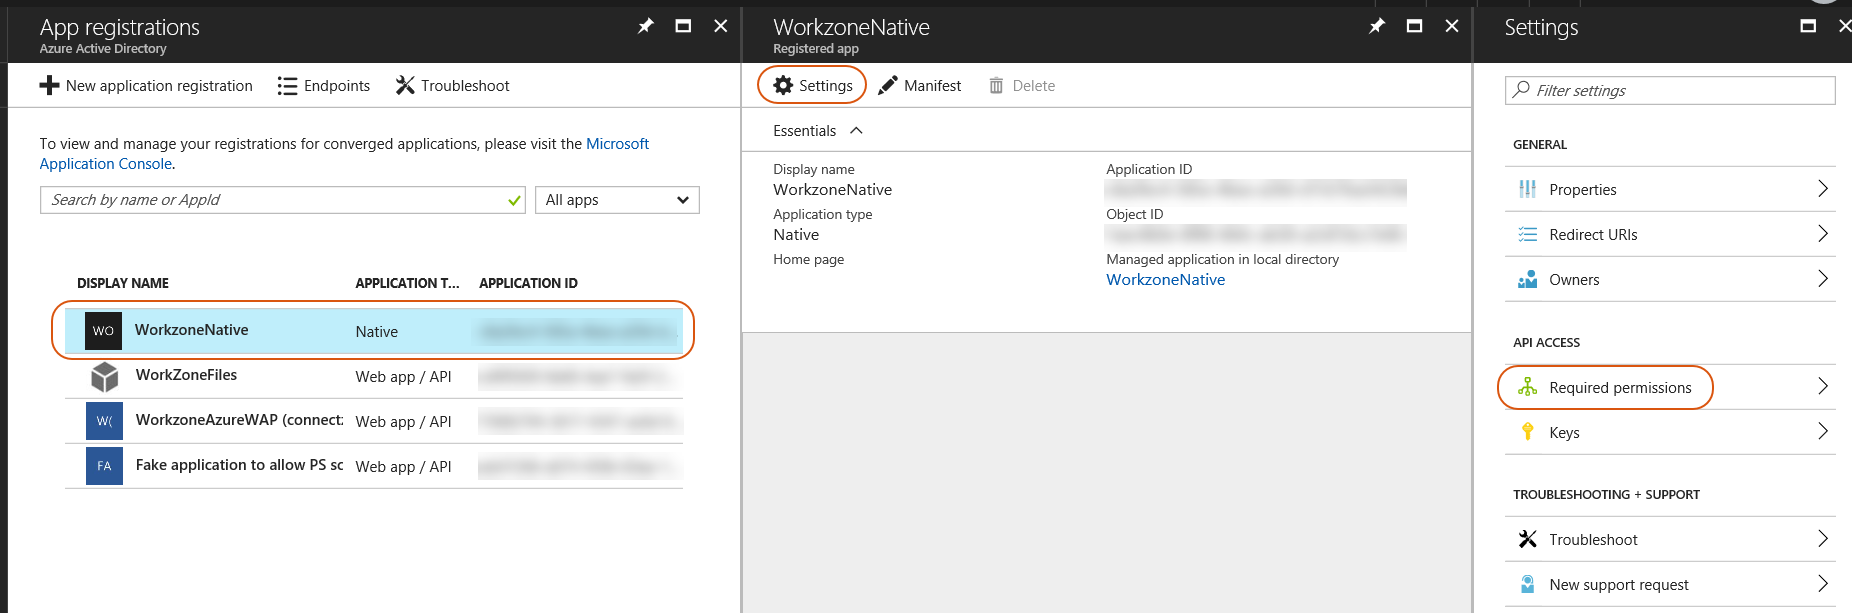
Note: If you only see the Microsoft API, you need to type in the Search field, and then other results will be listed.
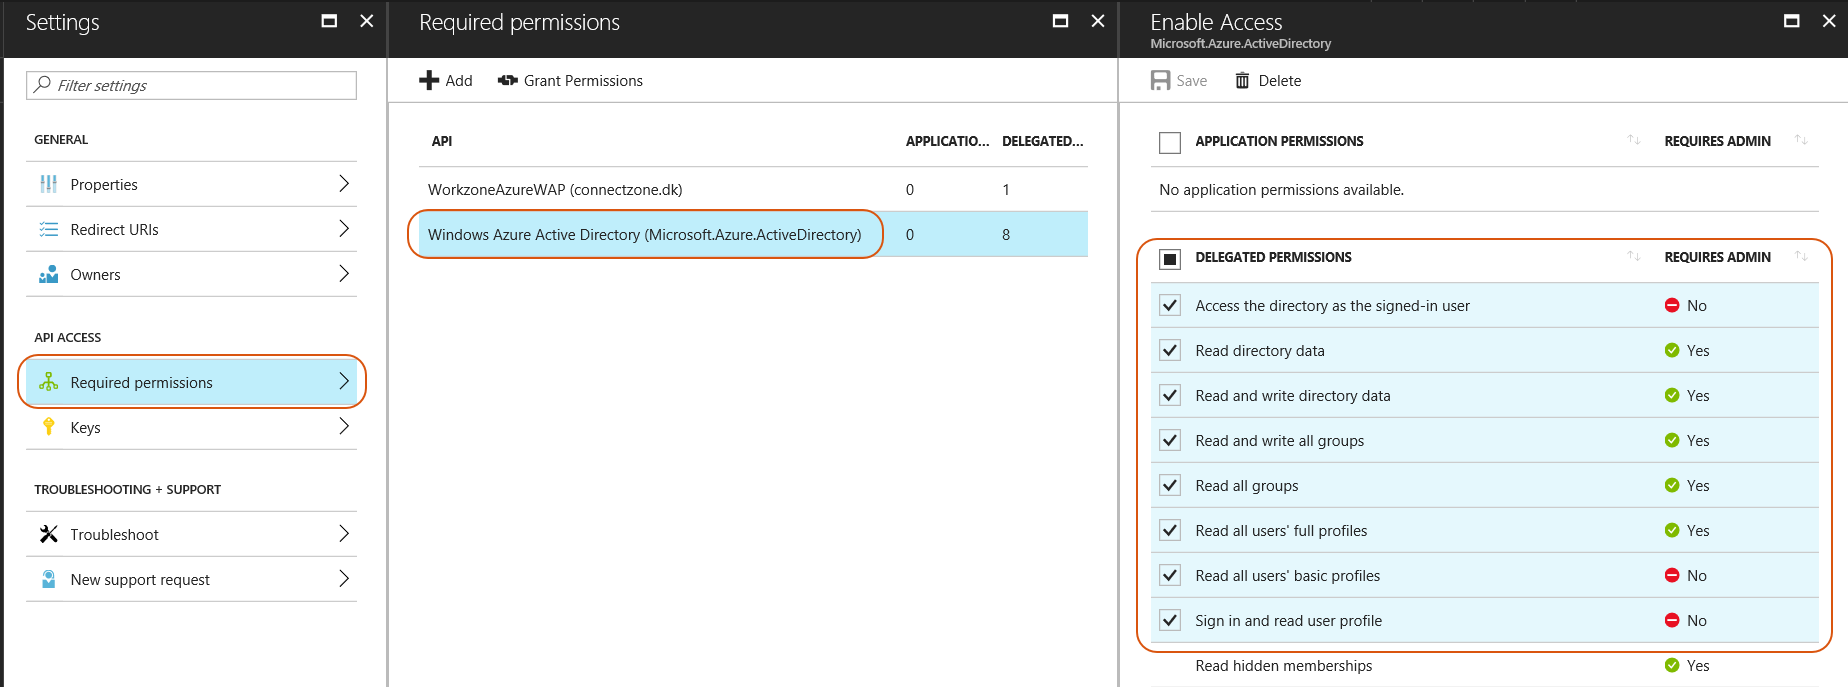
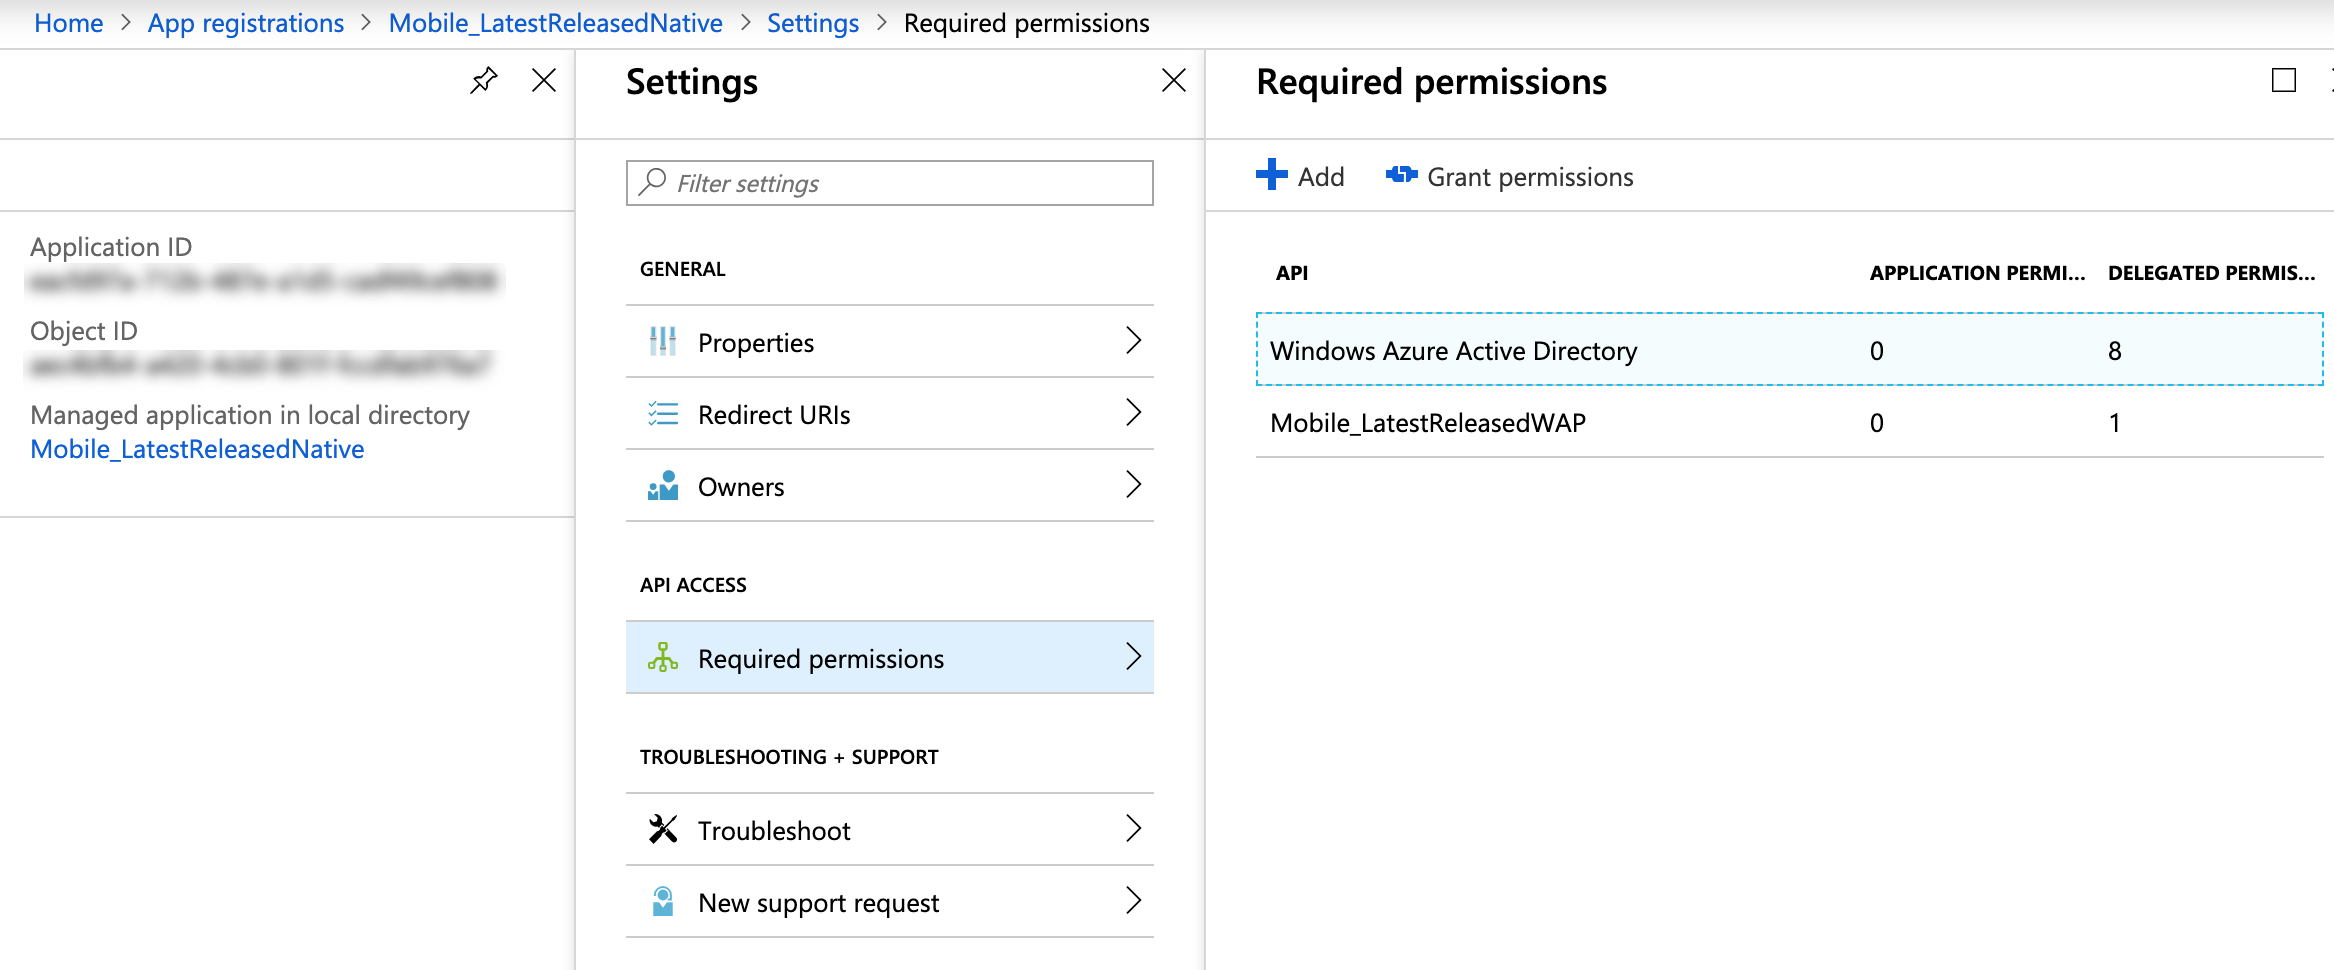
The next step is to add specific permissions to the Windows Azure Active Directory.
Add permissions to the Windows Azure Active Directory
- Select the app you just created and click All settings > Required permissions.
- On the Required permissions page, click Windows Azure Active Directory.
- Under Delegated permissions, select all the check boxes except the last one.
- Click Save.
- Click Grant Permissions. If prompted, click Yes, OK, or Accept.