Templates and content controls

You can create your own templates and use existing templates, for example, letter templates and information templates. You can also retrieve and insert case, document, or contact information into a template or document, or to update registered document information.
Each template includes content controls. Content control represents an information field of a case, document, or contact (party); for example, (Case, Case handler) Name 1, (Document) Title, and so on. When you merge a template with a certain case or document, content controls extract the related values from the case or document. For example, (Case, Case handler) Name 1 can obtain value Ann, (Document) Title can obtain value Application form, and so on.
If content controls are displayed in multiple languages, please see After switching the language in WorkZone Client, some content controls in the Content properties group on the Insert tab of Word remain in the language selected before.
- Create a new Word document.
- Type the common text and add content controls.
- Click Files > Save As. The Save As dialog box is displayed.
- Select a location for your template.
- In the Save as type field, click
 > Word Template, and click Save.
In WorkZone for Office you can add content controls for the custom field types Date, Text, Decimal, and Integer.
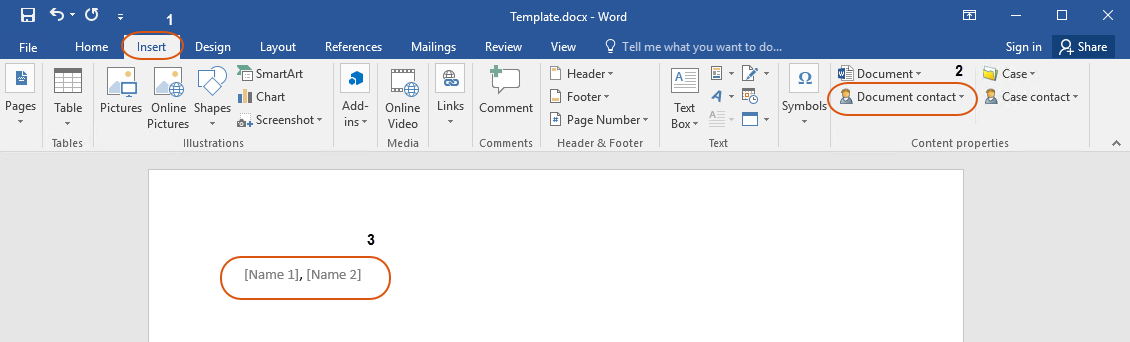
- Select the Insert tab.
- In the Content properties group, click Case or Document to add content controls with case or document properties. Click Case contact or Document contact to add content controls with case party or document party properties.
Certain content controls have two options:
- If the property name is followed by (code), for example, Case handler > Contact type (code), it refers to the three-letter code identifying the case handler.
- If the property name is followed by (text), for example, Case handler > Contact type (text), it refers to case handler's full name.
There are two additional options how you can benefit from content controls:
Insert multiple information for multiple parties with the same role (the repeating content functionality)
This is another way how you can use and benefit from content controls. Each case or document can have multiple parties with a specific role, for example, Sender or Recipient. If you want to extract information from multiple parties and insert it into a content control, you must use a repeating content control.
- A party on the case or document, content control and repeating content control must have the same role in order to insert repeating information.
- Apart from parties, you can also repeat text, images, and other types of information that is surrounded by a repeating content control.
- For the correct operation, it is strongly recommended that you follow the instructions in the order listed.
-
On the Insert tab, in the Content properties group, click the content control from the relevant group, and select a property you want to insert. For example, if you want to insert names of all parties with the Sender role, you must add content controls Name 1 and Name 2 with the Sender role.
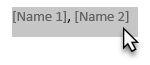
- Use the left mouse button to select the content controls on the template.
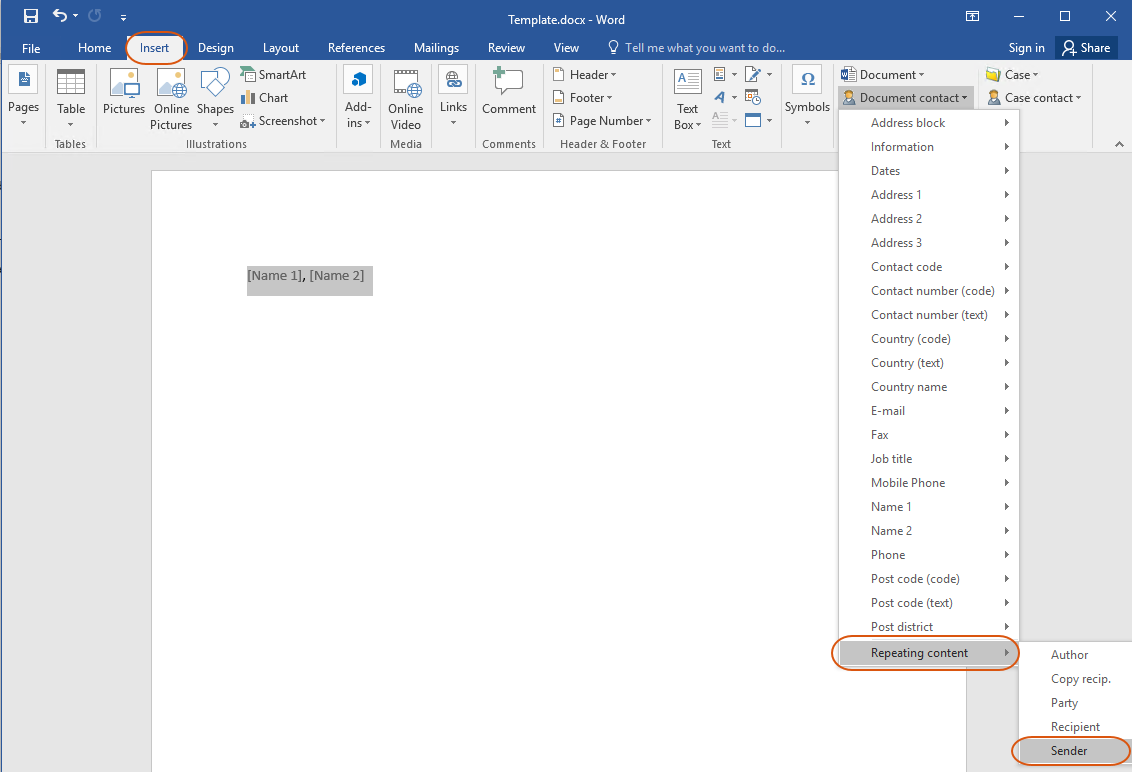
- Click Document contact or Case contact, open the Repeating content menu and select the required role.
- When you then merge, content controls will be populated with relevant information, each on a new row.
To view information about the repeating content control, click it and view the information in the title.


Consider a situation when you need to send identical letters to different recipients. At the same time, you want to include specific information for each recipient, such as name, address and so on. To generate a separate text for each recipient, your template must meet two conditions:
- The template contains at least one content control with the Recipient role (without a repeating content control).
- The case or document you merge the template with has at least two parties with the Recipient role.
When you click Merge, a new document is created. Text from the template with the specific values for each recipient will be inserted on a new page.
The new document with the values cannot be cleared after merging. However, you can edit initial template, if needed, and merge it again.
Merge case,
document, and contact information
Before merging case, document and contact information, content controls must be inserted into the template, and document information must be registered. See Registering document information.
- Open the relevant template.
- On
the Home tab, click Merge > Merge To Document.
If you merge contact’s address information, which is protected, the address information will not be inserted into the document. This is true only for the content controls created in WorkZone for Office 2017 and later versions.
Remove case,
document, and contact information
- On the Home tab, click Merge > Clear Merge.
Update registered
document information
You can update registered document properties by editing the contents of content controls inserted into a template or document:
- Document title
- Letter date
- Reply deadline
For example, if you change the document title in the Title content control, the document title will automatically be updated in the Document Registration pane.
Important: If you change the information in the Document Registration pane, you need to click Merge > Merge To Document to update the document.
Format of content control titles
From version 2014 R2, the format of content control titles has been changed to:
(ItemType,[Relation],[Type]) Label (format)
(Case) Type
(Case, Casehandler) Name1
(Case, Caseparty) Name1
(Document, Recipient, Date) Birthday
(Case, Primary Contact, Information) Hobby
This means that content controls added in version 2014 R2 and later will be displayed in the new title format, whereas already existing content controls (added before version 2014 R2) will be displayed in the old format.
Replace Captia content controls
Captia content controls are no longer supported in WorkZone. To make templates with Captia content controls work, you need to replace the Captia content controls with WorkZone content controls. The instructions describe how to check if a template uses old content controls and how to replace them with new content controls.
Check for Captia content controls
- Make a copy of the .docx file.
- Change the extension to .zip (you may have to wrap the name of the file with " " or enable Windows to display extensions of known file types).
- Unzip the file, and then go to the /Word sub folder.
- Open the document.xml file using an XML editor, for example, Visual Studio Code or Notepad++.
- Search for
w:dataBinding w:prefixMappings. - If the mapping is
w:dataBinding w:prefixMappings="xmlns:ns0='Captia'", it is an old content control. - Note the value of
w:alias w:valfor all Captia content controls. You can check for the value in the content control properties on Developer tab in Design mode in Word.
Headers and footers may also contain Captia content controls. Open the header*.xml and footer*.xml files where * refers to a number.
As the Captia content controls are different than those of WorkZone, you cannot just replace Captia with WorkZone. You need to replace the Captia content controls with WorkZone content controls.
Replace Captia content controls
- Open the template in Word with a newer version of the WorkZone for Outlook add-in.
- Delete the Captia content control and then add it again using the corresponding WorkZone content control.
It is easier to manage and work with content controls when you have enabled Design Mode on the Developer tab in Word. In Word, click File > Options, click Customize Ribbon, and then select the Developer check box. Close the Word Options dialog box and click the Developer tab and enable Design Mode.