Configure templates
The SmartPost package includes two default templates:
- Cover pages for recipients with protected addresses
- Cover pages for copy recipients
An organization can create and configure its own templates.
Cover page templates
The cover page is inserted at the beginning of the message that is sent to a recipient. The cover page must have a layout and content that can be used when the message is sent as a physical letter. For example, the recipient's name and address must be located at a specific position on the cover page in order to be visible through the window of the envelope, and no confidential information must be exposed.
Important: You must use content controls to create the cover pages in the same way as for the main letter in SmartPost.
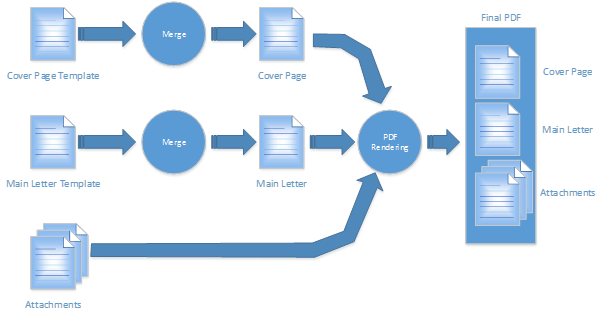
The diagram below illustrates how SmartPost creates the cover page based on the cover page template. The cover page is merged at the same time as the rest of the message is merged.
The protected address cover page
When a recipient has a protected address, SmartPost inserts a protected address cover page as the first page of the message to the recipient.
The main letter document is then merged, but the information required to locate the recipient is left out. SmartPost does this by leaving the content controls that contain address information empty.
The reason for also leaving out the address information in the letter to the recipient is to minimize the risk of recipients questioning if the letters that are sent to the copy recipients provide information that makes it possible to locate the recipient.
If the address is protected, the following address information is left out:
Case parties
The contacts that are registered as parties on the case that a SmartPost message is sent from.
- Address 1
- Address 2
- Address 3
- Contact code
- Contact number
- Contact number (code)
- Country code
- Country (text)
- Country (name)
- Fax
- Postcode
- Mobile phone
- Postcode (code)
- Postcode (text)
- Post district
Document contacts
The contacts that a user selects as recipients and copy recipients in the Send SmartPost dialog box as well as the sender, who is the process owner.
- Postcode
- Address 1
- Address 2
- Address 3
- Fax
- Country name
- Country
- Country
- Contact number
- Contact code
- Mobile phone
- Phone
- Postcode (code)
- Postcode (text)
- Post district
Important: If custom fields have been added on contacts, WorkZone cannot know if the fields are protected.
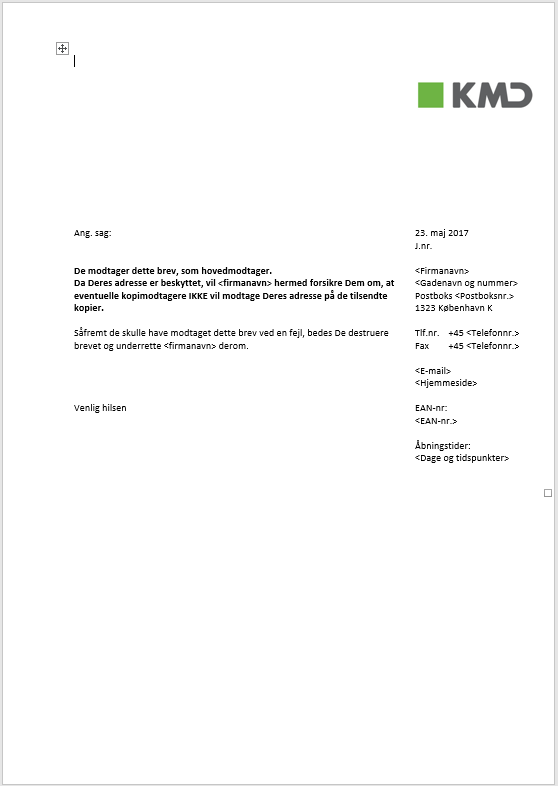
Example: Default protected cover page
If you have turned on the AllowSendingSeparateDocuments parameter in the SmartPost parameters to allow users to send attachments as separate PDF documents through e-Boks, and you have turned off the MergeAllDocuments parameter, the messages will not include a protected address cover page. Any copy recipients will still receive one merged PDF document including the cover page.
The Copy Recipient Cover Page
When a contact is selected as a copy recipient of a message, SmartPost inserts a copy recipients cover page as the first page in the message to the copy recipient. The main letter is then merged. If the main recipient has a protected address, the merge is then made without the address information, which can be used to locate the main recipient. As for the protected address cover page, the address information is left out (see above). If the main recipient does not have a protected address, SmartPost uses the whole address information of the main recipient when merging the main letter.
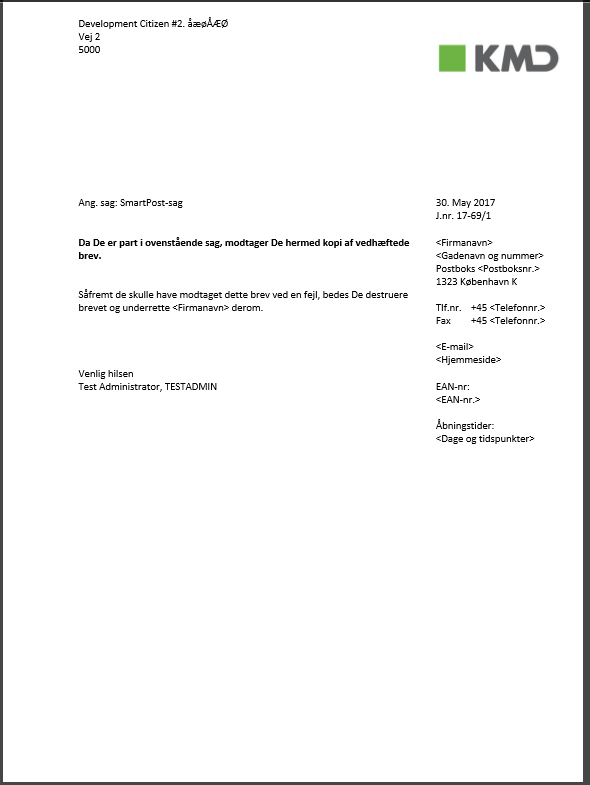
Example: Default copy recipient cover page
Create a cover page template
- Use Microsoft Word to create a template. The template document must be of the type docx or dotx. Insert content controls that correspond to the address information (or other variable information) at the correct positions in the document. Ensure that the address information is located in the right position on the page to make it visible for the postal worker through the window of the envelope.
- Import the templates to a case in WorkZone using WorkZone Client. Typically, you have a specific case for template documents. After importing the templates, note the document number and name of the imported template document.
- Open WorkZone Configurator.
- Click Process > Processes.
- Point to the SmartPost process, and click
 Edit parameters.
 - Select the template document for each of the parameters:
Strålfors provides an online test application (connect2.popwatch.com), which can be used to verify that the address information is located in the correct position.
- CopyCoverPageRecordId - The copy recipient cover page.
- ProtectedCoverPageRecordId - The protected cover page.
- Click Save. The SmartPost process will take the cover page templates in to use immediately.
For more information about how to configure WorkZone Process parameters, see Processes in the WorkZone Configurator Administrator Guide.
Update templates with Captia content controls
Captia content controls are not supported in WorkZone. To make templates with Captia content controls work, you need to replace the Captia content controls with WorkZone content controls. See Check for Captia content controls in the WorkZone for Office User Guide.