Parties and references

|

|

|
|
Case |
Document |
Contact |
To configure parties and references, you must have the DATAADM access code.
In this section, you can define values for the Role and Reference fields that are available on specific case, document, and contact tabs.
| Tab in Client | Field in Client | Tab in Parties and references | Description |
|---|---|---|---|
|
Party |
Role |
Case party roles Document party roles Contact party roles |
Relation between case and contact. Relation between document and contact. Relation between contact and contact. |
|
Case reference |
Role |
Case references |
Relation between case and case. |
|
Document reference |
Reference | Document references |
Relation between case and document on cases. |
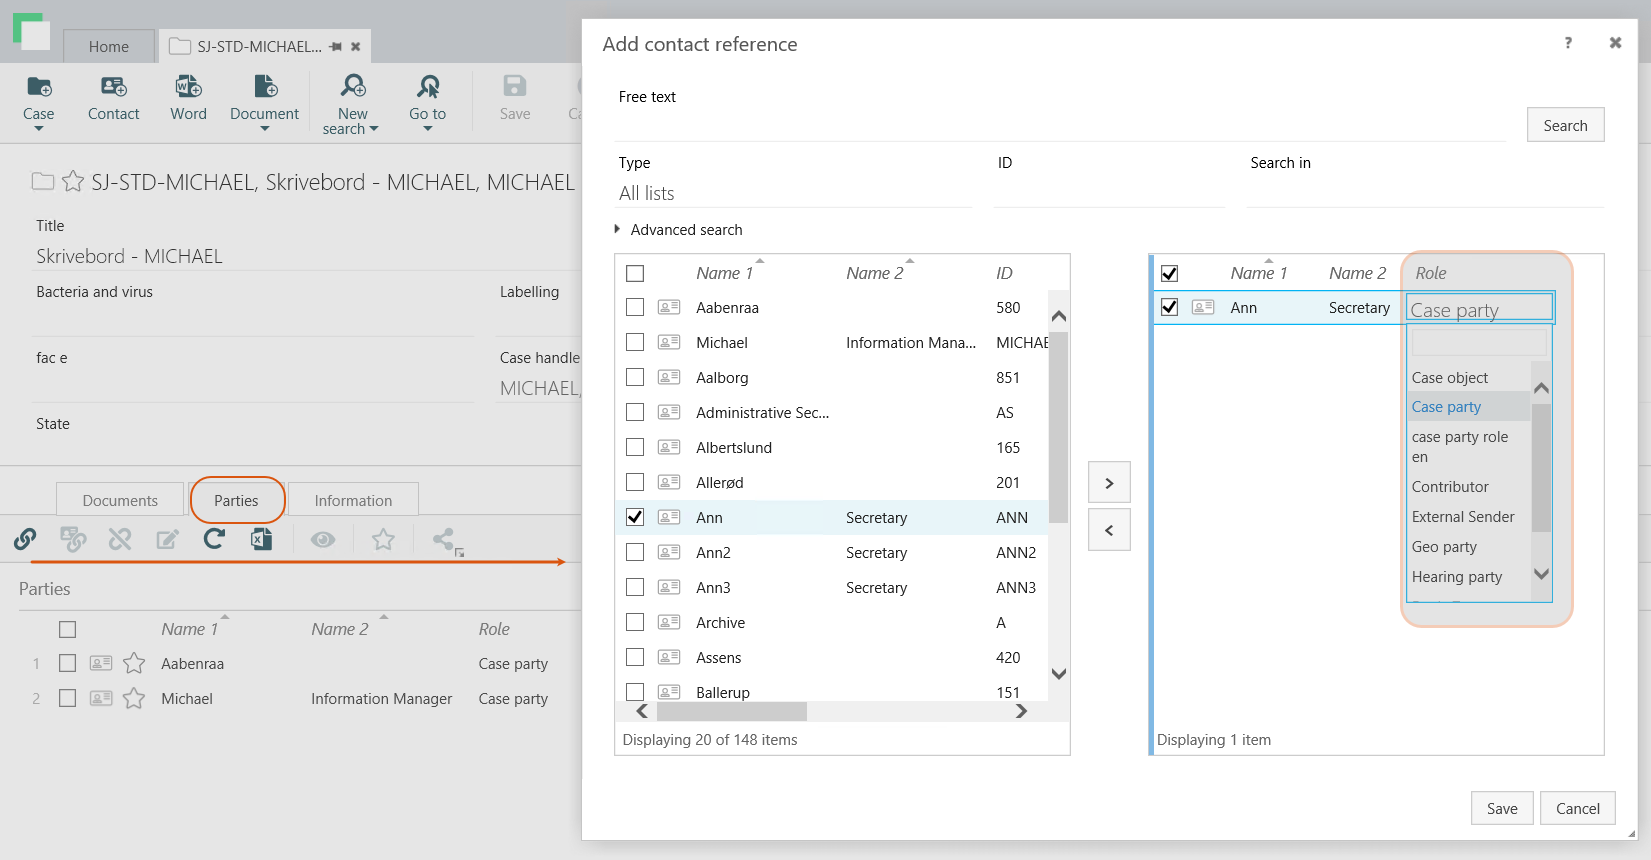
Consider an example of how to add a new case party with a role in WorkZone Client. This example helps you to understand where end users see and use the values that you define on the Parties and references tab in WorkZone Configurator.
- In WorkZone Client, open a case detail page.
- Add the Parties tab and then the Role field in the list of parties.
- Click
 Add.
Add. - On the dialog box, double-click the desired contact.
- Select a role in the Role drop-down list, and click Save.
Extend the dialog box if you don't see the Role field.

Create a new value for the Role field.
- On the main page, select Case, Document, or Case depending on where the field is located.
- On the Parties and References tab, select the desired detail tab, and click
Create in the bottom-right corner of the page. Fill in the following fields:
- Label by default – The default field name that is visible for users.
- Code – The code in the database.
- Localize labels – Optionally, specify names in other languages.
- Start date – The date when the role or reference becomes active. Before the start date, the role or reference is invisible in the user interface.
- End date – The date when the role or reference is deactivated. After the end date, the role or reference becomes invisible in the user interface.
- Reverse code – A reverse role or reference. This field is available for case references on cases, document references on documents and contact reference roles on contacts.
Example: You create the Sender role with the Recipient Reverse code. In WorkZone Client, you open a contact named Ann. You add a new contact reference for Ann. You select Michael, and set his role to Sender. When you open Michael's contact references, you see Ann, and her role is Recipient.
- Click Create.
- Open a list with the role that you want to edit, and point to it. A menu bar with action buttons appears.
- Click
Edit.
- Apply the required changes in the Edit role dialog box.
- Click Save.
Note: You cannot edit the Label by default and Code values.
You can only delete a role that does not have any records in the database.
- Open a list with the role that you want to delete, and point to it. A menu bar with action buttons appears.
- Click
Delete, and then click Delete.
Note: When you delete contact role A that has a reverse code to contact role B, the reverse code for contact role B will be removed automatically.
