Parties and references

|

|

|
|
Case |
Document |
Contact |
In this section, you can define values for the Role and Reference fields that are available on specific case, document, and contact tabs.
| Tab in Client | Field in Client | Tab in Parties and references | Description |
|---|---|---|---|
|
Party |
Role |
Case party roles Document party roles Contact party roles |
Relation between case and contact. Relation between document and contact. Relation between contact and contact. |
|
Case reference |
Role |
Case references |
Relation between case and case. |
|
Document reference |
Reference | Document references |
Relation between case and document on cases. |
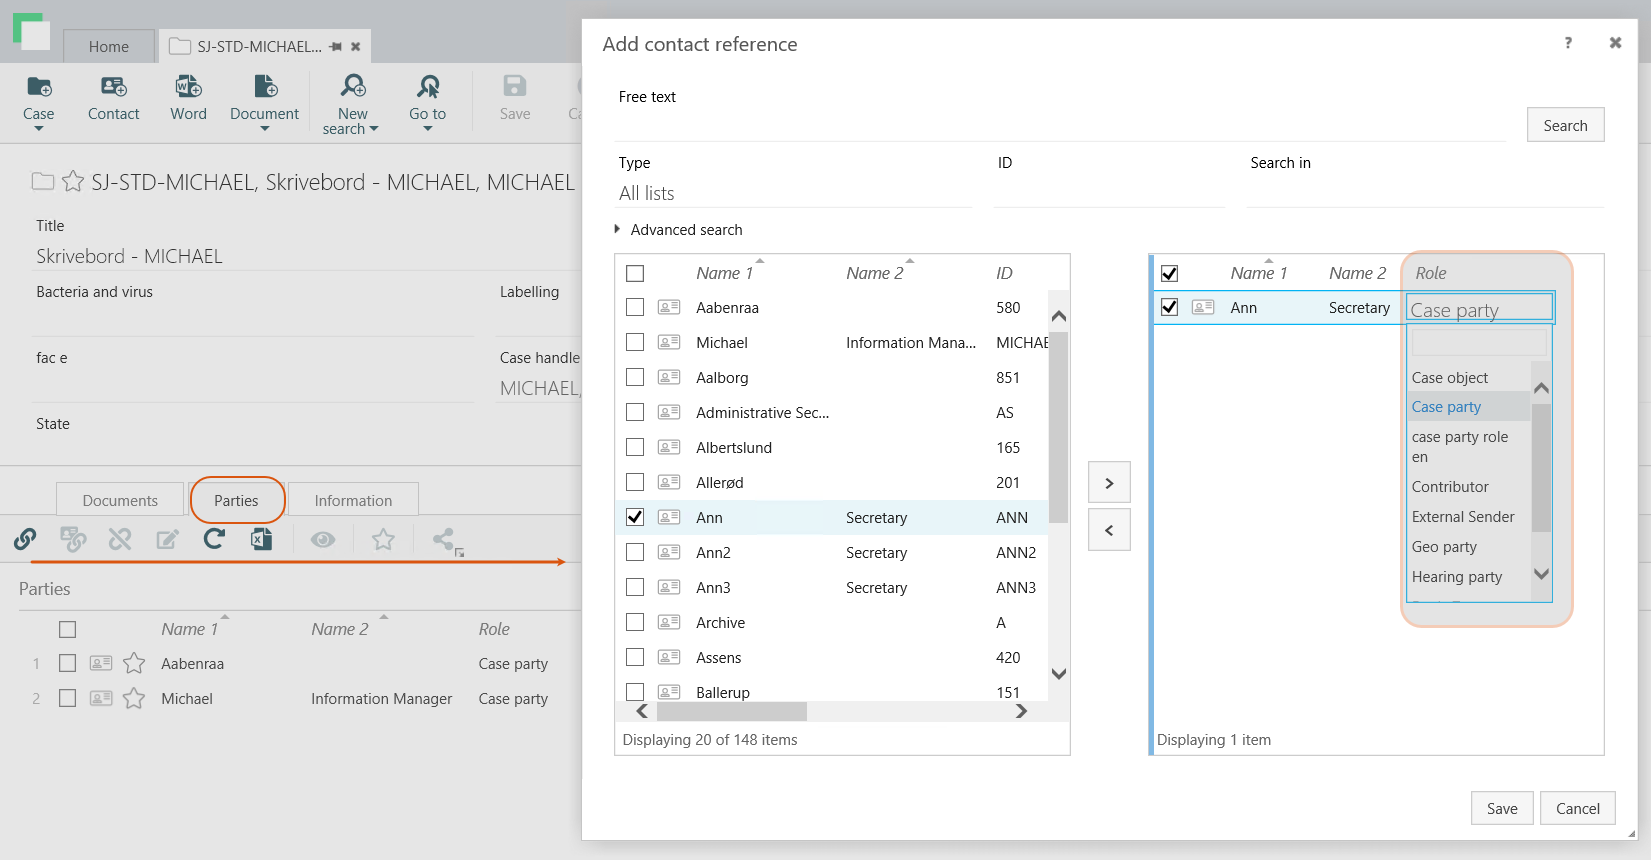
Consider an example of how to add a new case party with a role in WorkZone Client. This example helps you to understand where end users see and use the values that you define on the Parties and references tab in WorkZone Configurator.
- In WorkZone Client, open a case detail page.
- Add the Parties tab and then the Role field in the list of parties.
- Click
 Add.
Add. - On the dialog box, double-click the desired contact.
- Select a role in the Role drop-down list, and click Save.

Create a new value for the Role field.
- On the main page, select Case, Document, or Case depending on where the field is located.
- On the Parties and References tab, select the desired detail tab, and click
Create in the bottom-right corner of the page. Fill in the following fields:
- Label by default – The default field name that is visible for users.
- Code – The code in the database.
- Localize labels – Optionally, specify names in other languages.
- Start date – The date when the role or reference becomes active. Before the start date, the role or reference is invisible in the user interface.
- End date – The date when the role or reference is deactivated. After the end date, the role or reference becomes invisible in the user interface.
- Reverse code – A reverse role or reference. This field is available for case references on cases, document references on documents and contact reference roles on contacts.
Example: You create the Sender role with the Recipient Reverse code. In WorkZone Client, you open a contact named Ann. You add a new contact reference for Ann. You select Michael, and set his role to Sender. When you open Michael's contact references, you see Ann, and her role is Recipient.
- Click Create.
- Open a list with the role that you want to edit, and point to it. A menu bar with action buttons appears.
- Click
Edit.
- Apply the required changes in the Edit role dialog box.
Note: You cannot edit the Label by default and Code values.
- Click Save.
You can only delete a role that does not have any records in the database.
- Open a list with the role that you want to delete, and point to it. A menu bar with action buttons appears.
- Click
Delete, and then click Delete.
Note: >When you delete contact role A that has a reverse code to contact role B, the reverse code for contact role B will be removed automatically.
