Updated: 12/03/2025
Select a case
You can attach a case in one of the following ways:
- Select an existing case
- Select no case (in reality this option means that you select your desktop case)
- Create a new case
Select an existing case
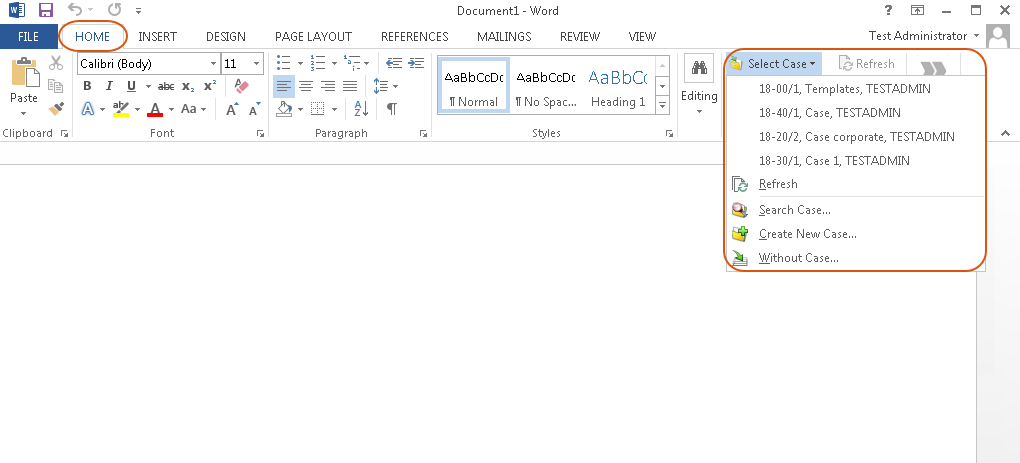
- On the Home tab in the Case group, click Select Case. A list with options is displayed.
- Select a case among recent cases.
- To find a case by any word in it, type free text in Search for the words.
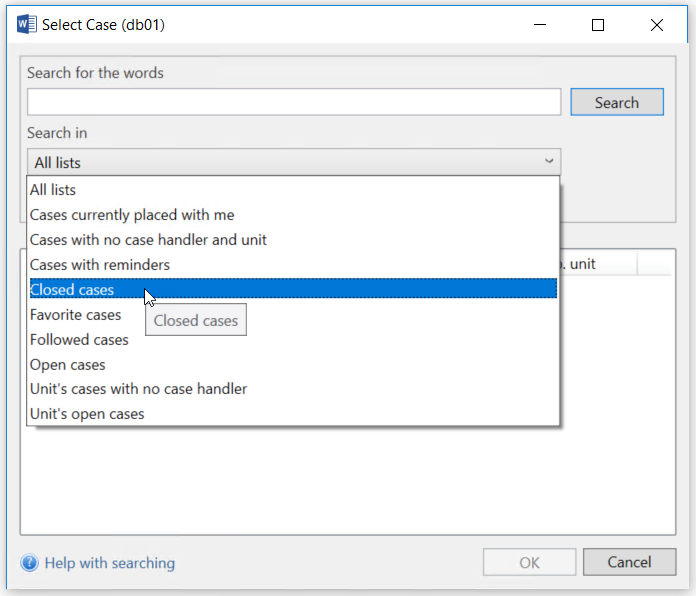
- To display a specific group of cases, select a filter from Search in.
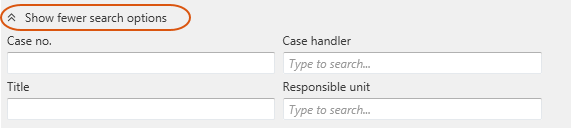
- To search by case number, title, case handler, or responsible unit, click Show more search options. Click Show fewer search options to collapse this section.
- Or -
Click Search Case to find a required case. Enter a search criterion in one or more of these fields and then click Search:
Select a desktop case
You can save a document to your desktop case. This is relevant if, for example, the document is a draft, or if you want to attach it to a case later. See The desktop case.
- On the Home tab in the Case group, click Select Case. A list with options is displayed.
- Click Without Case.
Create a new case
You can create a new case from WorkZone for Office and then save the document on it.
- On the Home tab in the Case group, click Select Case. A list with options is displayed.
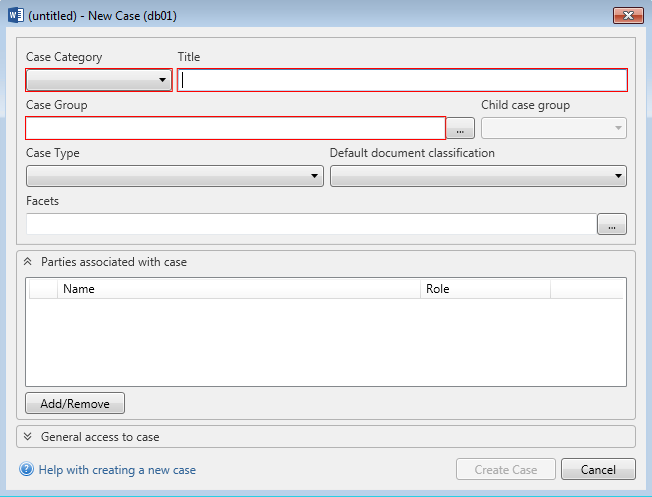
- Click Create New Case.
- Enter relevant information about the case, including the required fields marked in red.
- Title – Title of the new case.
- Case Category, Case Type, Case Group, Child case group – These fields are defined by your organization and used to classify the case. The better you classify the case, the easier to find it, follow workload, and conduct other actions. See About cases and Case groups and child case groups in the WorkZone Client User Guide.
- Default document classification – Classification code to be inherited by case documents. Classification orders and prioritizes data based on its sensitivity. Default classification code is inherited from the case group or from the global value that are set by administrator. You can override this code by selecting the desired classification from the list.
- Facets – Use facets as a complimentary way to classify your cases. Facets are enabled and defined by your organization. Select the desired facets and click Apply.
- At least one facet should be selected in each required facet group.
- You can select more than one facet in each field.
- To remove a facet, double-click the facet, or press DEL.
- Parties associated with case – Click Add/Remove to add or remove case parties. Note that you can change the case party's role in the Role drop-down list.
- General access to case – Select appropriate access to case (Full, Department, or Personal).
- Click Create Case, or press Enter.
Note:
The new case is created in WorkZone. The New Case dialog is closed, and the Document Registration pane opens, which allows you to save your document on the new case.