Set up and configure WorkZone I/O Manager
Set up Developer access
In the Developer application, you can set up your WorkZone I/O Manager processes, workflows and servers.
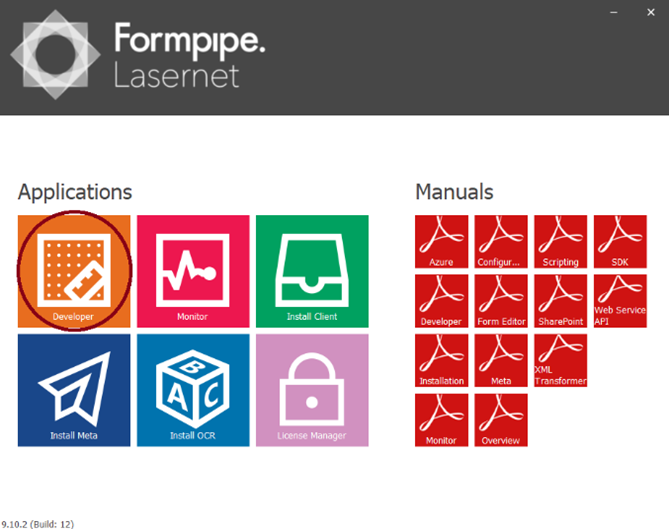
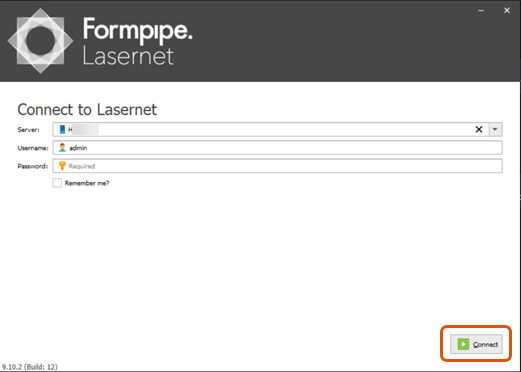
- Under Lasernet general applications, select Developer. For the first time, you will need to log in as the default user with empty password. After that, you can change your credentials.
- Connect to Lasernet.
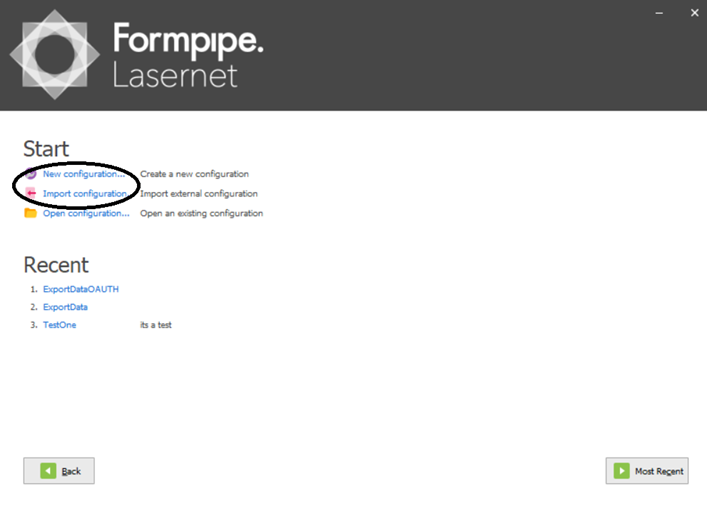
- Create a new configuration or import an already existing one.

Configure web server
For a new configuration, you will need to set up web server.
- Enter the
http://localhost:3479/URL, where3479is the default port. - Log in, and click SERVERS.
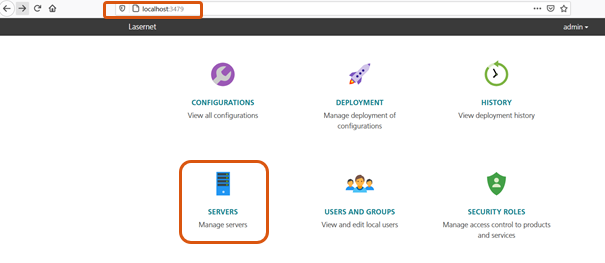
- Click Add to add a new server.
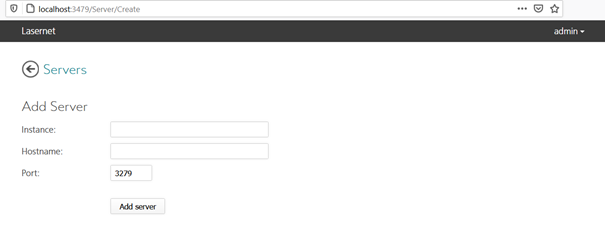
- Instance should be the name of your web server
- Hostname can be set as localhost in proof of concept (PoC) usage.
- Port is set to
3279by default.
Set up web server (developer side)
For a new configuration, you will need to set up the web server and workflows in the Developer app.
- In the Developer app, click New configuration.
- Enter Configuration Name and Description, and click OK.
- On the navigation panel, under Servers (top left corner of the screen), click your web server name.
- Click Modules on the bottom left side of the screen.
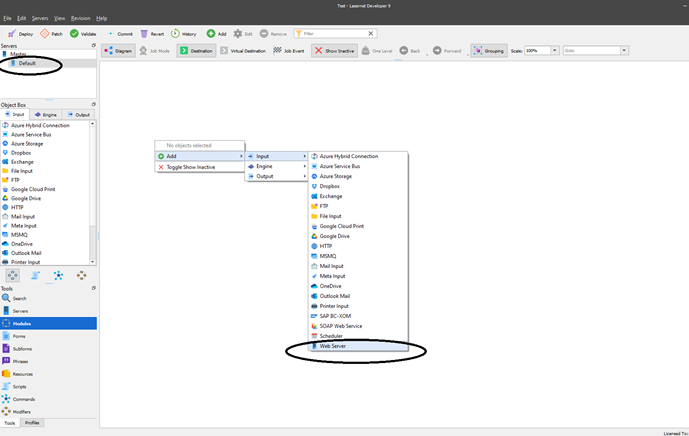
- Right-click the blank space in the center of the screen, and select Add > Input > Web Server.

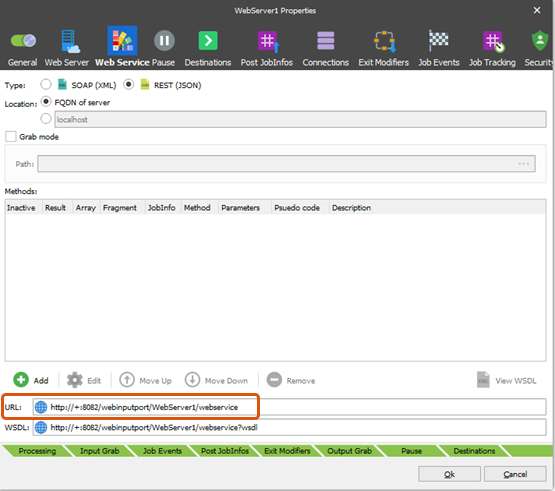
- Configure your web server properties:
- General tab: you can leave the default values
- Web Server tab: specify the Listen port
- Web Service tab: specify the URL for service

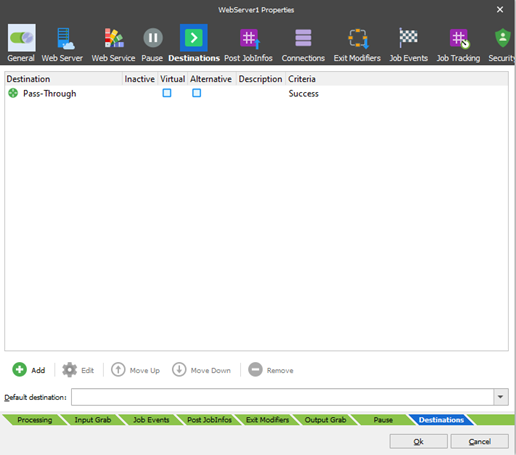
- Destinations tab: add task which should be triggered upon calling the web service. In the provided example, it is
Pass-Throughtask.
- Click OK to create a new web server.
Set up web server tasks
Now you need to set up tasks which can be triggered from your web server.
- In the Developer app, on the navigation panel under Servers (top left corner of the screen), click your web server name.
- Click Modules (on the bottom left side).
- Right-click the blank space in the center of the screen, and select Add > Engine > Pass-Through.

Pass-Through is the most important task, as it will manage your scripts and requests in the specified order. For example, inside the Pass-Through task you can define, that first you will trigger the
Getrequest (to get the data from external application), and then trigger the JavaScript script which will get this data and update the body for the next step in aPost(update) request. - Specify the task name.
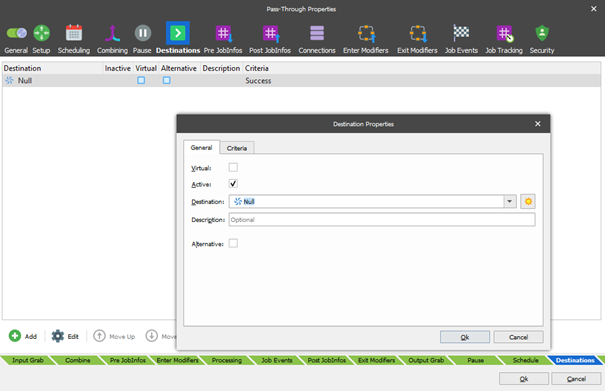
- On the Destinations tab, select Add.
- Set Destination as Null.

-
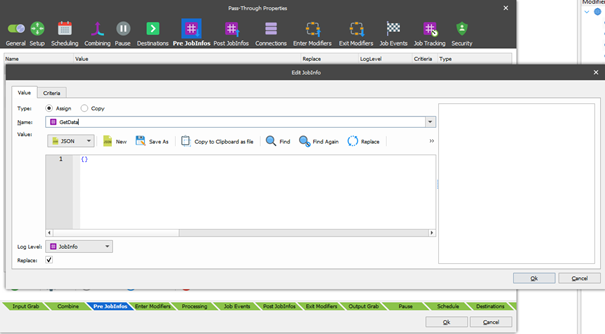
The Pass-Through task can also send requests using specific initial data placeholders called JobInfos. You can create initial one on the Pre JobInfos tab: click Add, and then provide Name and body example for Value as shown below:

-
You can also add empty JobInfos for get requests which will not send any body.

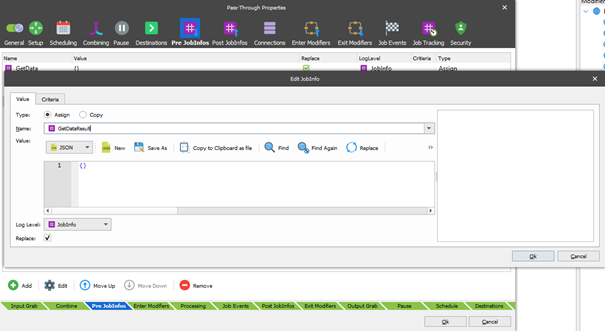
-
-
Similar to GetData, add GetDataResult JobInfos.

You can leave the Post JobInfos empty for now.