Publishing WorkZone Web services in Azure Application Proxy
Prerequisite:
- The Azure Application Proxy is set up with an internal Proxy service.
- The necessary rights are set up.
- The internal on-premises domain is synced with the Azure Active Directory.
- The certificate for the external URL in place.
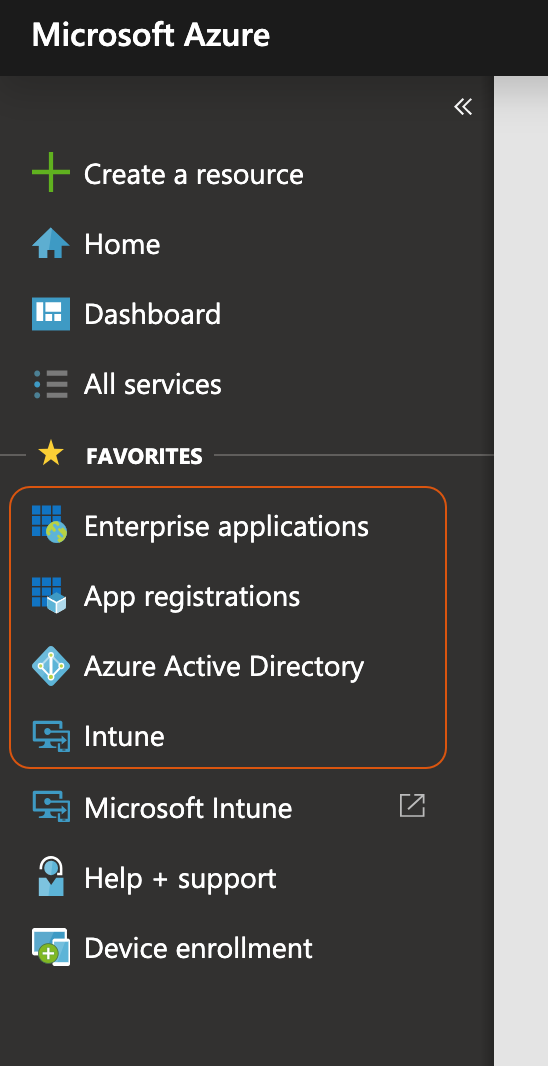
Log in to the Microsoft Azure portal.
The example shows the most frequently used Azure features.
Register the WorkZone Mobile app
- Go to the Azure Active Directory tab.
- Click App registrations.
- On the App registration page, click New application registration.
- Enter a name for the WorkZone Mobile app.
- Select Web app / API in the Application type field.
- Enter the URL of WorkZone Mobile in the Sign-on URL field. This is the URL of the server. Users use it to sign in and use WorkZone Mobile.
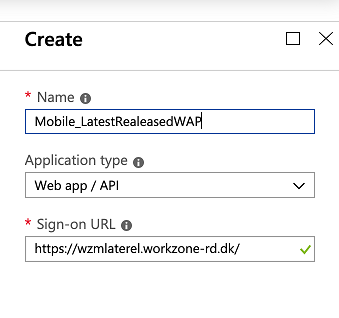

- Click Create.
Enable users to sign in
- Click Enterprise applications > All applications.
- Select the WorkZone Mobile app with the name you specified above.
- Click Properties.
- Make sure to enable the Enabled for users to sign-in? and User assignment required? settings.
- Click Save.
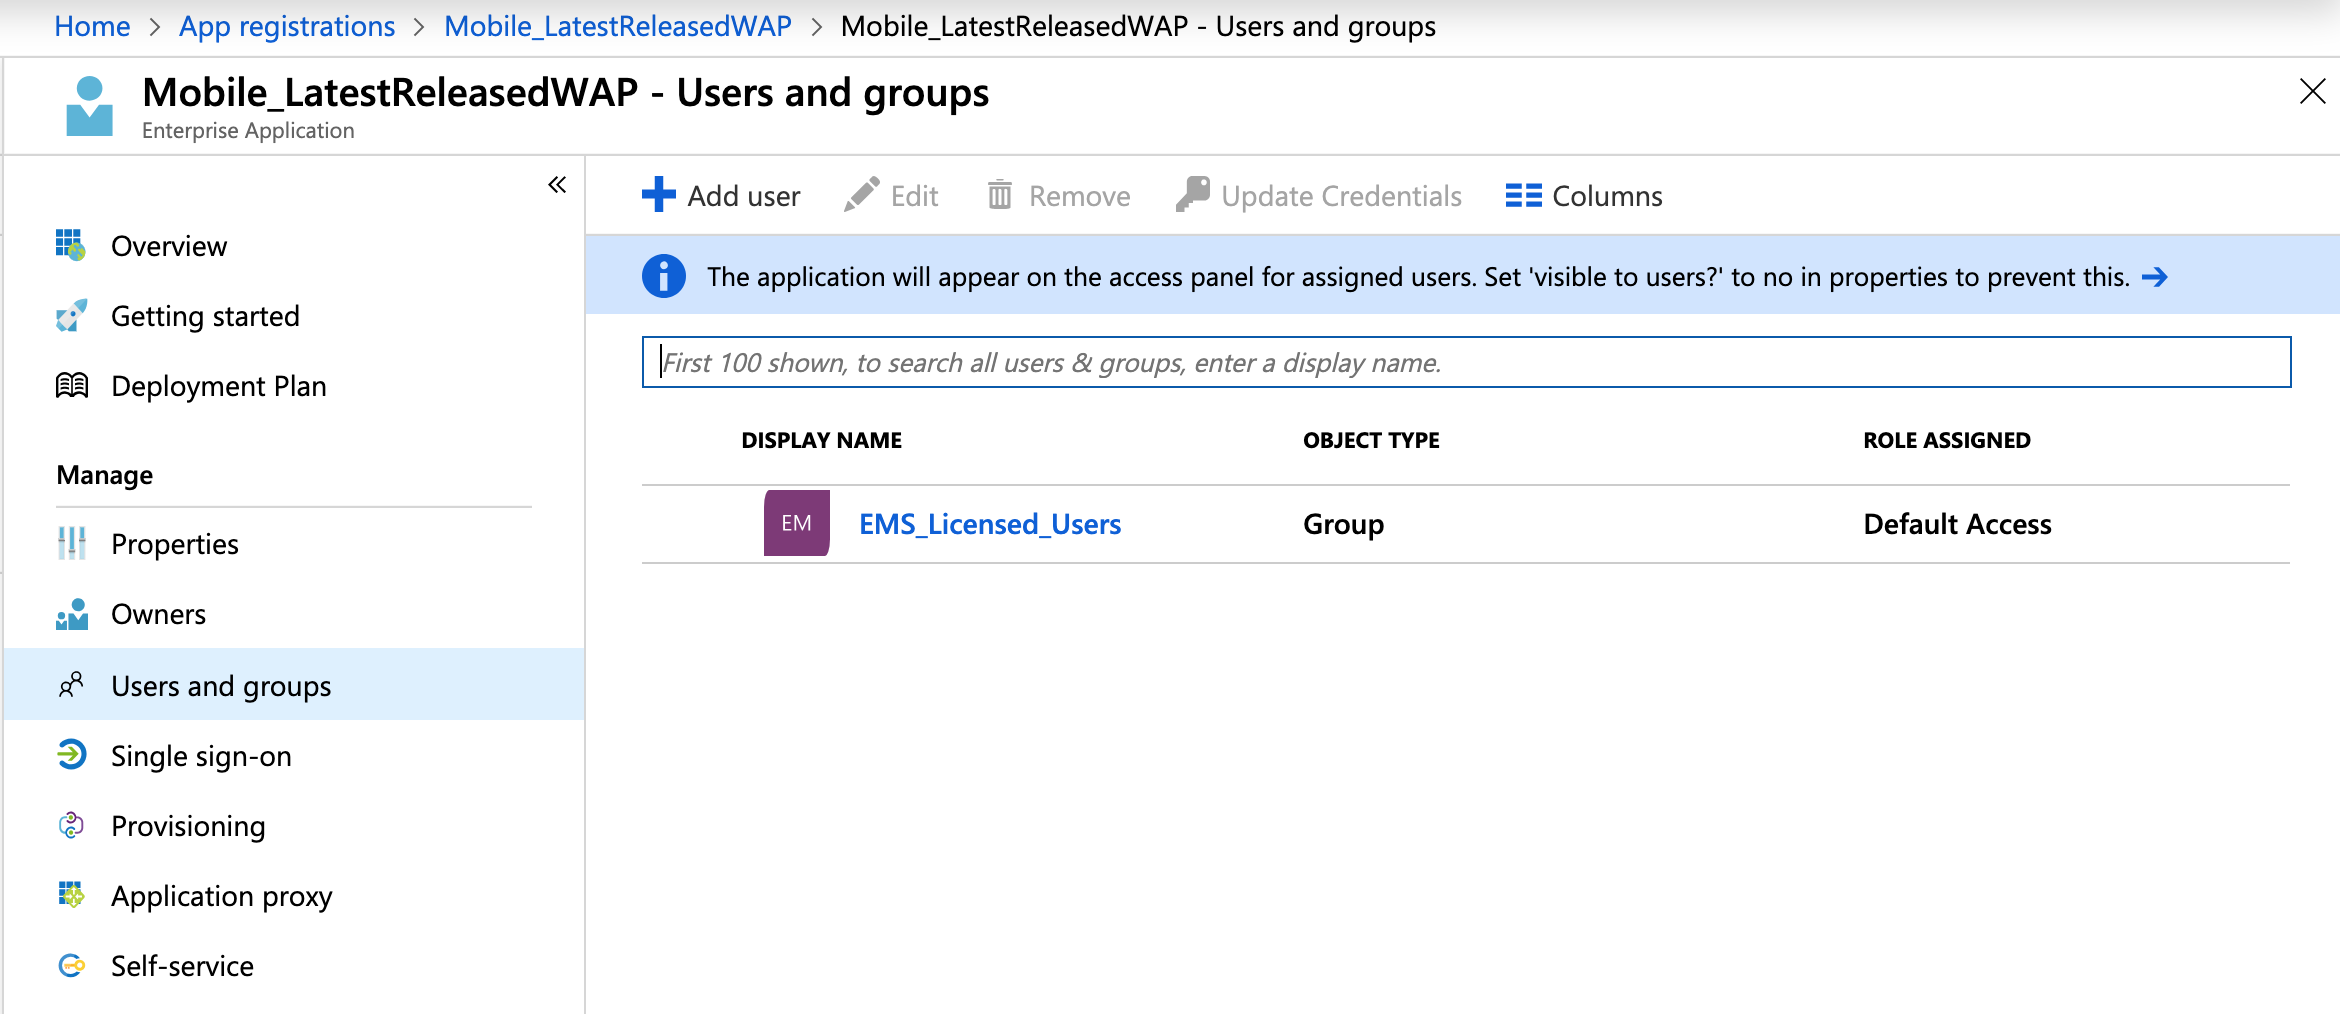
- Click Users and groups.
- Click Add user to assign users or groups of users that will have access to WorkZone Mobile.
- Click Single sign-on.
- Specify the following settings:

- Select Integrated Windows Authentication in the User Sign-on Mode field.
- Enter the SPN
 Service Principal Name of the internal WorkZone Mobile app in the Internal Application SPN field.
 - Select On-premises SAM Security Application Manager account name in the Delegated Login Identity field.
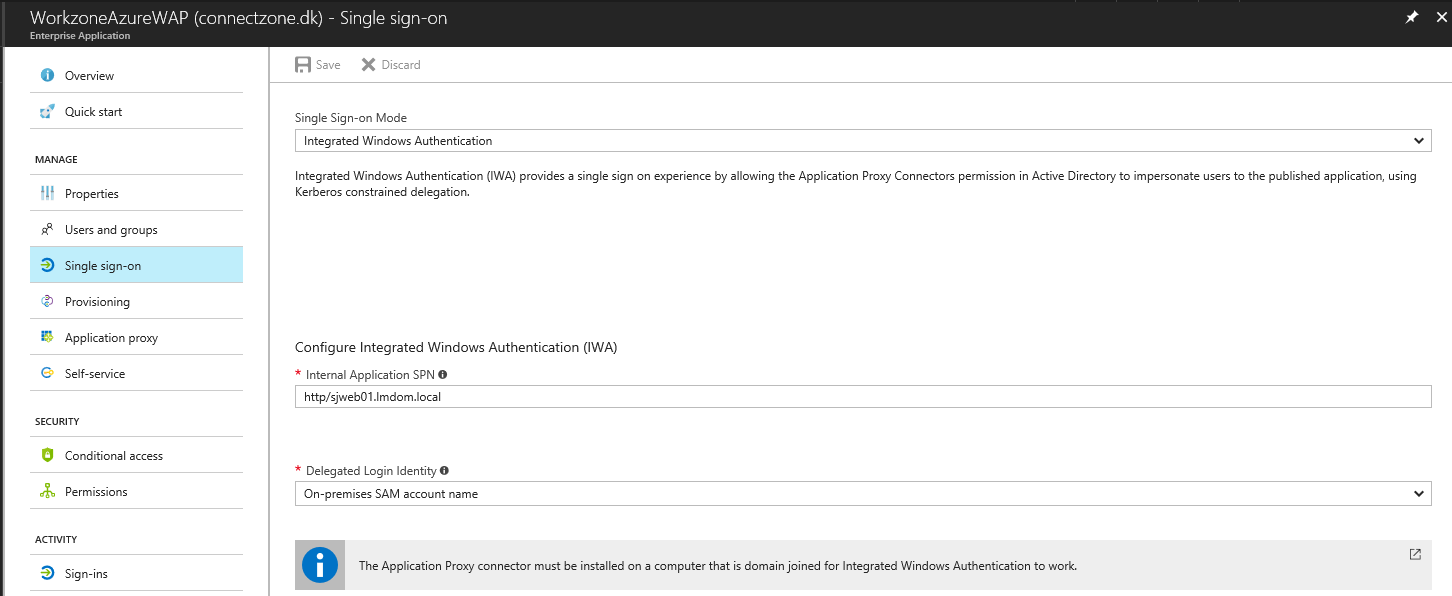
- Click Save.
- Click Application proxy.
- Make sure to enable the following settings (1):
- Enter the internal URL to access WorkZone Mobile from inside your network in the Internal Url field.
The URL must match the external URL.
- Enter the external URL to access WorkZone Mobile from outside your network in the External Url field.
The URL must match the internal URL.
- Select Azure Active Directory in the Pre Authentication field.
- In the Connector Group, select LatestReleased.
- Under Translate URLs in, disable the settings (3):
- Headers
- Application Body
- Select a certificate for the external URL (4). Under Certificate, click Click here to view your certificate to view or upload the certificate.
- Click Save.
