Properties

|

|
|
|
Case |
Document |
|
About properties
A property represents one of the values of a meta data field. You can add, edit, and delete properties for case and document meta data fields.

In WorkZone Configurator 2023.1, you can configure values for the following meta data fields:
Case
|
Name in WorkZone |
WorkZone product |
Place in WorkZone product |
Description |
|---|---|---|---|
|
Case categories |
WorkZone Client |
Case button on the main ribbon |
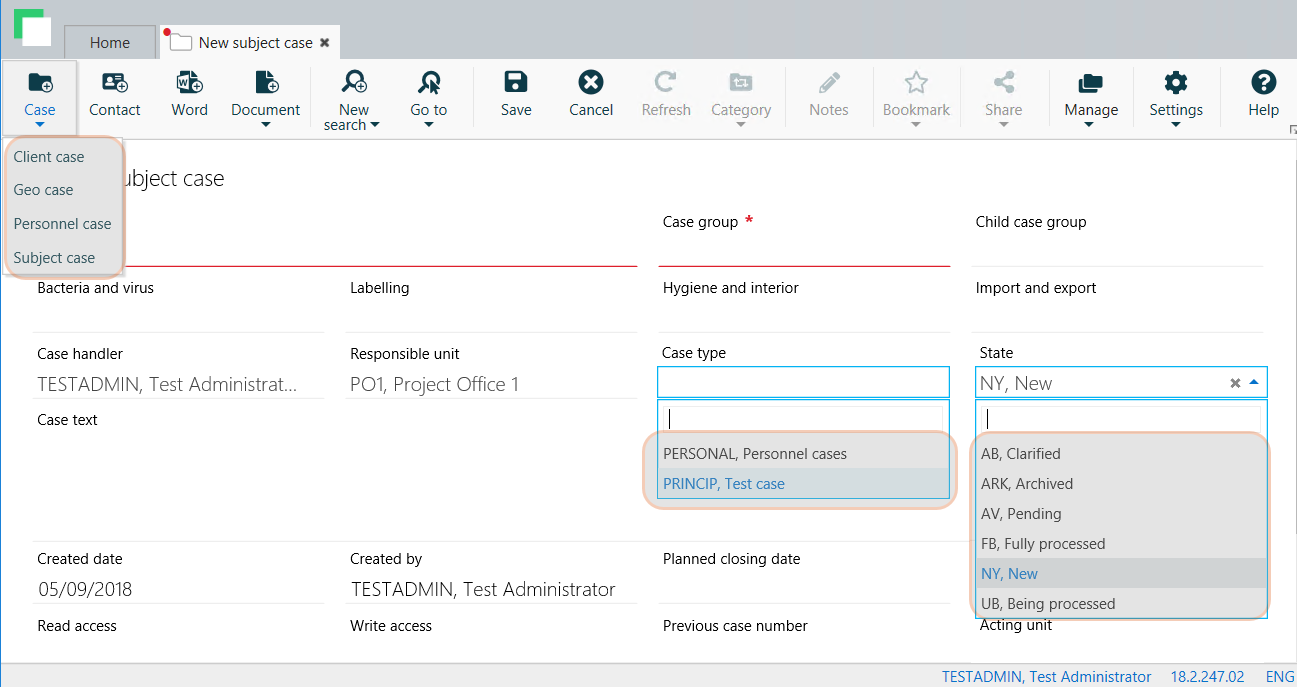
Division of cases by category. An organization configures case categories individually depending on its architecture, requirements, and needs. |
|
Case types |
WorkZone Client WorkZone 365 |
Case type meta data field |
Division of cases by type. An organization configures case types individually depending on its architecture, requirements, and needs. |
|
Case states |
WorkZone Client |
State meta data field |
States that a case can get during its life cycle. An organization configures case states depending on its requirements and needs. |
Document
|
Name in WorkZone |
WorkZone product |
Place in WorkZone product |
Description |
|---|---|---|---|
|
Document groups |
WorkZone Client WorkZone 365 |
Document group meta data field |
Shows the group to which the document belongs. For example, Decision, Confirmation, or Consultation. |
|
Document types |
WorkZone Client WorkZone 365 |
Document type meta data field |
Indicates whether the document is, for example, incoming, outgoing, or internal. |
Create a property
Add a property to create a new value for a meta data field.
- On the main page, select Case or Document depending on where the meta data field is located.
- On the Properties tab, select a tab, for example, Document types.
- In the right bottom corner of the page, click
. The Create document type dialog box opens.
-
Fill in the following fields:
- Label by default – Default name that is visible for users.
- Code – Code in the database. On the user interface, the code is often displayed next to the label.
- Localize labels – Optionally, specify names in other languages.
- Rank - A user-defined ranking of the properties. The rank is used to determine the sort order of the drop-down list for the property with 0 being the highest rank or top-most option in the drop-down list. Identical or empty rank numbers will be sorted in descending alphabetical order.
- Selectable - Disable to make this value non-selectable for the users in WorkZone Client, WorkZone 365, or WorkZone for Office.Note:
- If the Selectable option is disabled, the users will not be able to select this value, but will be able to search for items belonging to this property.
- Non-selectable values can still be set as the default values and will be visible to the users in WorkZone Client, but users will not be able to select them (or to re-add them, if the user has changed a non-selectable default value to something else).
- Start date – The date when the property becomes active. Before the start date, the property is invisible on the user interface.
- For case properties only: Hidden - Enable to make this property invisible on the user interface.
- End date – The date when the property is deactivated. After the end date, the property becomes invisible on the user interface.
- Click Create.
Edit a property
- Open a list with the property that you want to edit and point to it. A menu bar with action buttons appears.
- Click
Edit.
- Apply the required changes in the Edit <property> dialog box.
Note: You cannot edit the Label by default and Code values.
- Click Save.
Delete a property
You can only delete a property that does not have any records in the database.
- Open a list with the property that you want to delete and point to it. A menu bar with action buttons appears.
- Click
Delete and then click Delete.
