Cases & Documents
You can perform the most important actions by using the buttons on the Outlook ribbon. For example, you can open documents in Word, Excel, or PowerPoint; reply to documents; add new documents to cases; share document or case links, and so on.
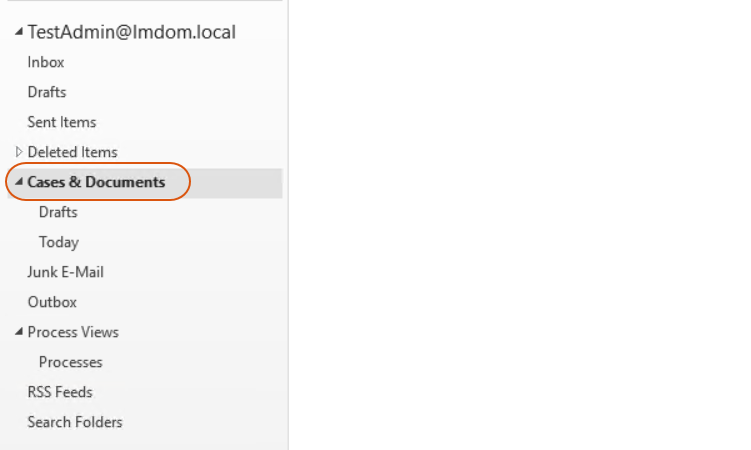
You apply these actions by selecting a case or a document from a list in the Cases & Documents folder. This folder is added to the navigation pane when you open Microsoft Outlook for the first time after the installation.
Some of these actions are also available on the Outlook ribbon when you select an Outlook item that has been saved on a case.
Add a list
You can add various lists of cases or documents to the Cases & Documents folder. Similar to other folders in Outlook, you can remove them later.
- On the Case tab, click Add List in the Folders group.
–Or–
Right-click your root mail folder, and select New Case or Document List. The Add List dialog is displayed with the lists you can add. - Select the check box for each list you want to add.
- Click
Add. Now you can see the selected lists under Cases
& Documents.
Search in a list
- In Cases & Documents, click a list where you want to find cases or documents.
- Insert search criterion in the Search bar.
![]()
- To clear the current search, click
close
 .
. - You can also sort cases or documents by clicking the relevant column.
Open a document
- Click a list that contains the document you need.
- Double-click a case to see its documents.
- If there are any supplementary
documents, the expand arrow button
 is displayed. Click the button to expand the document list and view supplementary
documents.
is displayed. Click the button to expand the document list and view supplementary
documents. - Double-click the document or supplementary document that you want to open. The document will open in the program which was used to create this document, for example, Outlook, Word, Excel, or PowerPoint.
Create a document on case
In Outlook, you can create new Microsoft Word, Excel, or PowerPoint documents and add them to the case.
- Under the Cases & Documents folder, select a case on which you want to create a new document.
- On the Case tab, select Add to Case > New Document (or New Spreadsheet, or New Presentation).
- Edit and save the new document. The document is saved on the selected case.
Share a link in email or appointment
You can quickly send a link to cases or documents in an email or insert it to the new appointment.
- Under the Cases & Documents folder, select a case or a document.
- On the Case tab in the Respond group:
- To create a new email with the link, click Send Link. A new email window with the link is opened.
- To create a new appointment with the link, click Meeting. A new appointment window with the link is opened.
Reply to a document
You can reply to documents in the same way as you reply to an email. When replying to a document, Microsoft Word opens and you need to select a blank document or a template. The case, document parties, and document references associated with the original document will be added to your reply document automatically.
- Under Cases & Documents, select the document to which you want to reply.
- On the Case tab, click Reply in the Respond group. Word opens and the New dialog is displayed.
- Double-click the Blank Document icon.
–Or–
Select a template for the new document.A new document opens with the following information from your original document in the Document Registration pane:
- The document type is set to Outgoing.
- Senders of the original document are used as Recipients.
- A document reference is created from your original document.
- Add content to the new document.
- Fill in the required fields, and click Save on Case in the Document Registration pane.
Open in WorkZone Client
You can open cases or documents in WorkZone Client from the Outlook ribbon.
- In the navigation pane under Cases & Documents, select a case or a document.
- On the Case tab, click the Show Profile button. WorkZone Client opens in a web browser, and you can view and edit the relevant case or document detail page.