You can save your new and existing Word, Excel, and PowerPoint to WorkZone to make sure they are always up to date in your cases.
Add a Word, Excel, or PowerPoint document to WorkZone
- Open a new or an existing Word, Excel, or PowerPoint document.
- Open the WorkZone pane.
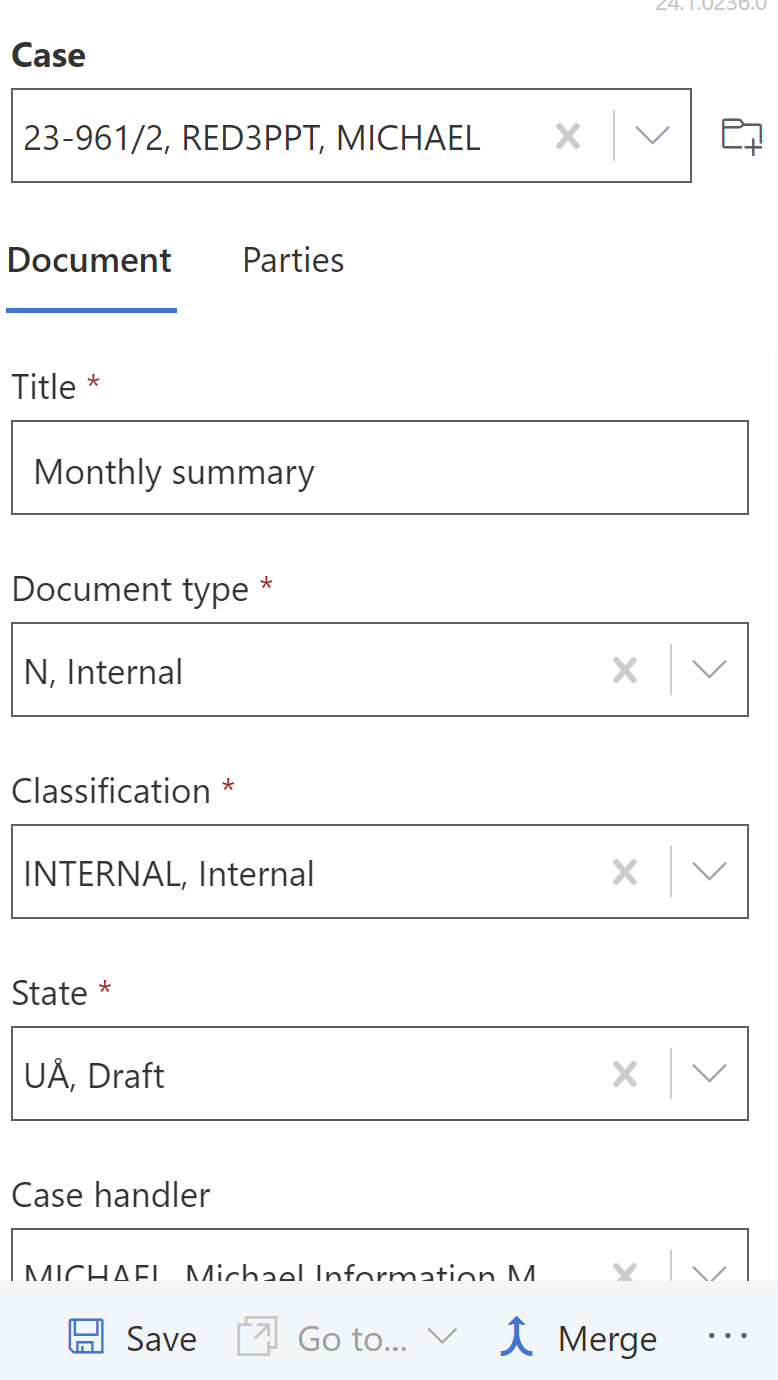
- Fill in mandatory fields on the Document tab, and click Save. After this:
- For Word documents: your newly saved WorkZone document opens automatically. Click Enable editing to edit that document.
- For Excel or PowerPoint documents: fields in the WorkZone pane will be disabled and the Action required alert is shown. In the alert dialog, select Open document. A new window opens where you can edit your document.
- Add or edit the document content and/or any WorkZone information.
- Click Save on the WorkZone pane.
- Click Save within the document. You can skip this step for the Word and Excel documents — content is saved once you click the Save button in step 5.
Save a Word, Excel, or PowerPoint document on a new case
You can create a new case from Word, Excel, and PowerPoint, and save your document on it.
- Open a Word, Excel, or PowerPoint document.
- Open the WorkZone pane.
- Next to the Case droplist, click
 Create new case and then select the needed case category.
 - In the Create new case dialog, fill in the mandatory fields.
Note: If you have the CONFIGADM access rights, you can configure fields that will be displayed in the Create new case dialog. See Configure the new case fields.
- Click Save. The new case is created and automatically selected in the Case field.
- Fill in the mandatory document fields, and click Save.
- To create cases with the Standard case case category, the Allow create Standard cases setting must first be enabled by an administrator in WorkZone Configurator (under 365 > Outlook configuration > Case creation).
- To open the saved document in WorkZone Client, click
 Go to... > Document in WZ Client on the WorkZone pane.
 - To open the new case for your saved document (for example, to fill in more fields), click
 Go to... > Case in WZ Client on the WorkZone pane.
 - If you select a Case group, fields that were defined for this case group by an administrator in WorkZone Configurator (under Taxonomy > Classification Scheme) will be filled in automatically. You can edit any of the automatically filled values manually, if needed. If you edit any fields manually, these fields will not be overwritten with the auto-filled values.
- The Case handler and Organizational unit values will be automatically inherited from the selected case. You can edit these fields manually, if needed.
Tip: